
BodyStream Sauna instructions
Complete setup and operating guide for the BodyStream Sauna, from assembling the frame to running your first session. Watch the full video or follow the written steps below.
Safety first
- Always have someone with you who can assist if there is ever an emergency.
- Use a CO2 tank of at least 20 lbs, positioned within arm's reach so you can shut it off from inside.
- Pre-heat the regulator about five minutes before each session, then check for leaks before you enter. Heat expands the fittings and can open a leak that was not there when cold.
- Turn the tank off every time you finish, and never leave it open when the sauna is not in use.
Part 1: Assemble the Frame
The frame is made of 13 labeled poles, six corner pieces, and four 45 degree angle pieces. Each pole has a sticker with its letter, and a printed diagram is included in the box. Lay all the pieces out on the floor first so you can see everything. Pole guide: A x2, B x2 (back), C x2, D x3, E x2 (diagonals), F x1 (front).
- 1Build the first side. Take an A pole, attach a corner piece, then a D pole, then another corner piece, and add the second A pole. Push the pieces together hard, pressing into the floor, so every joint is tight. Then flip it over.
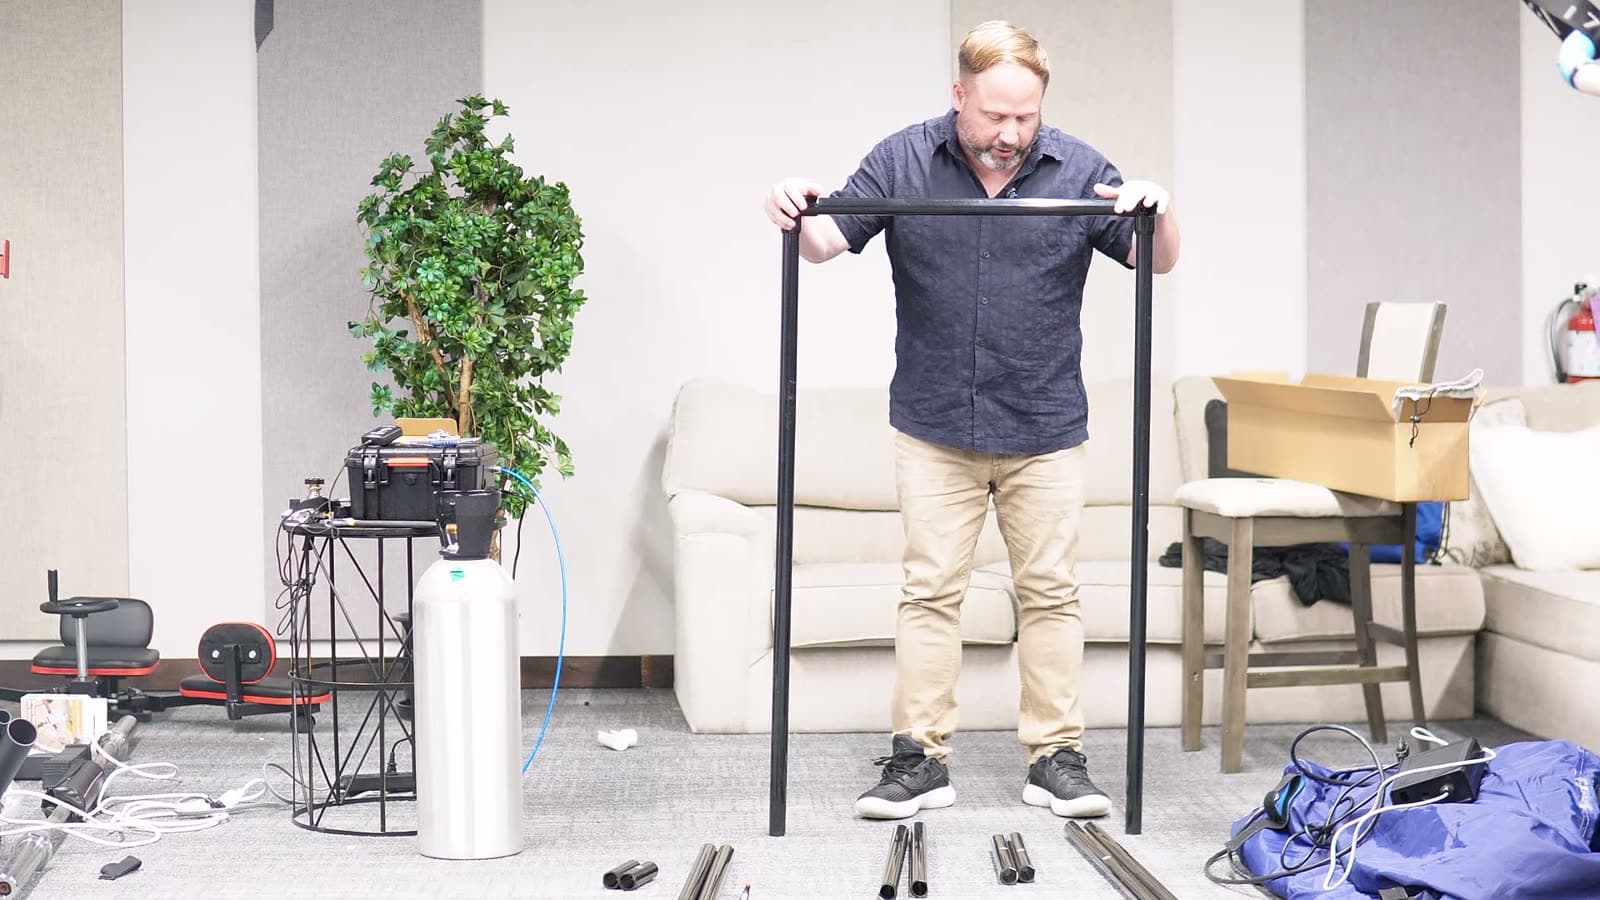
- 2Build the second side the same way with a corner piece, a D pole, and another corner piece. Make sure everything is seated together really well, then set it on the floor.
- 3Add the back and top. Put the two B poles in the back, then set the last two corner pieces with the third D pole between them across the top.
- 4Connect the two C poles so they extend forward at the top.
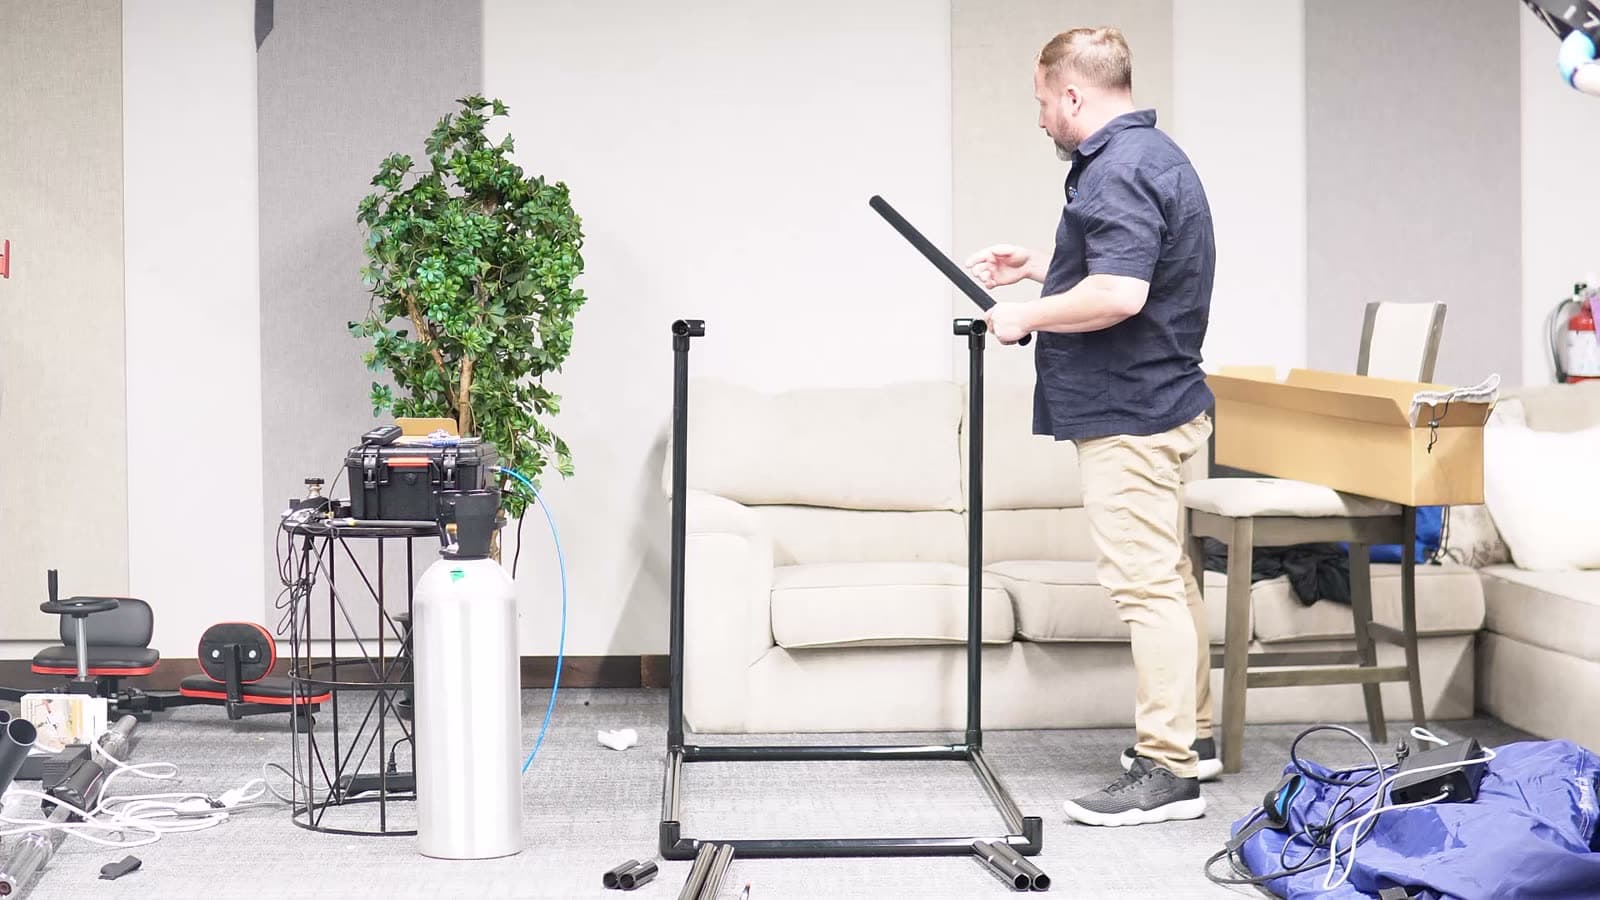
- 5Add the four 45 degree pieces to brace the frame at the angles.
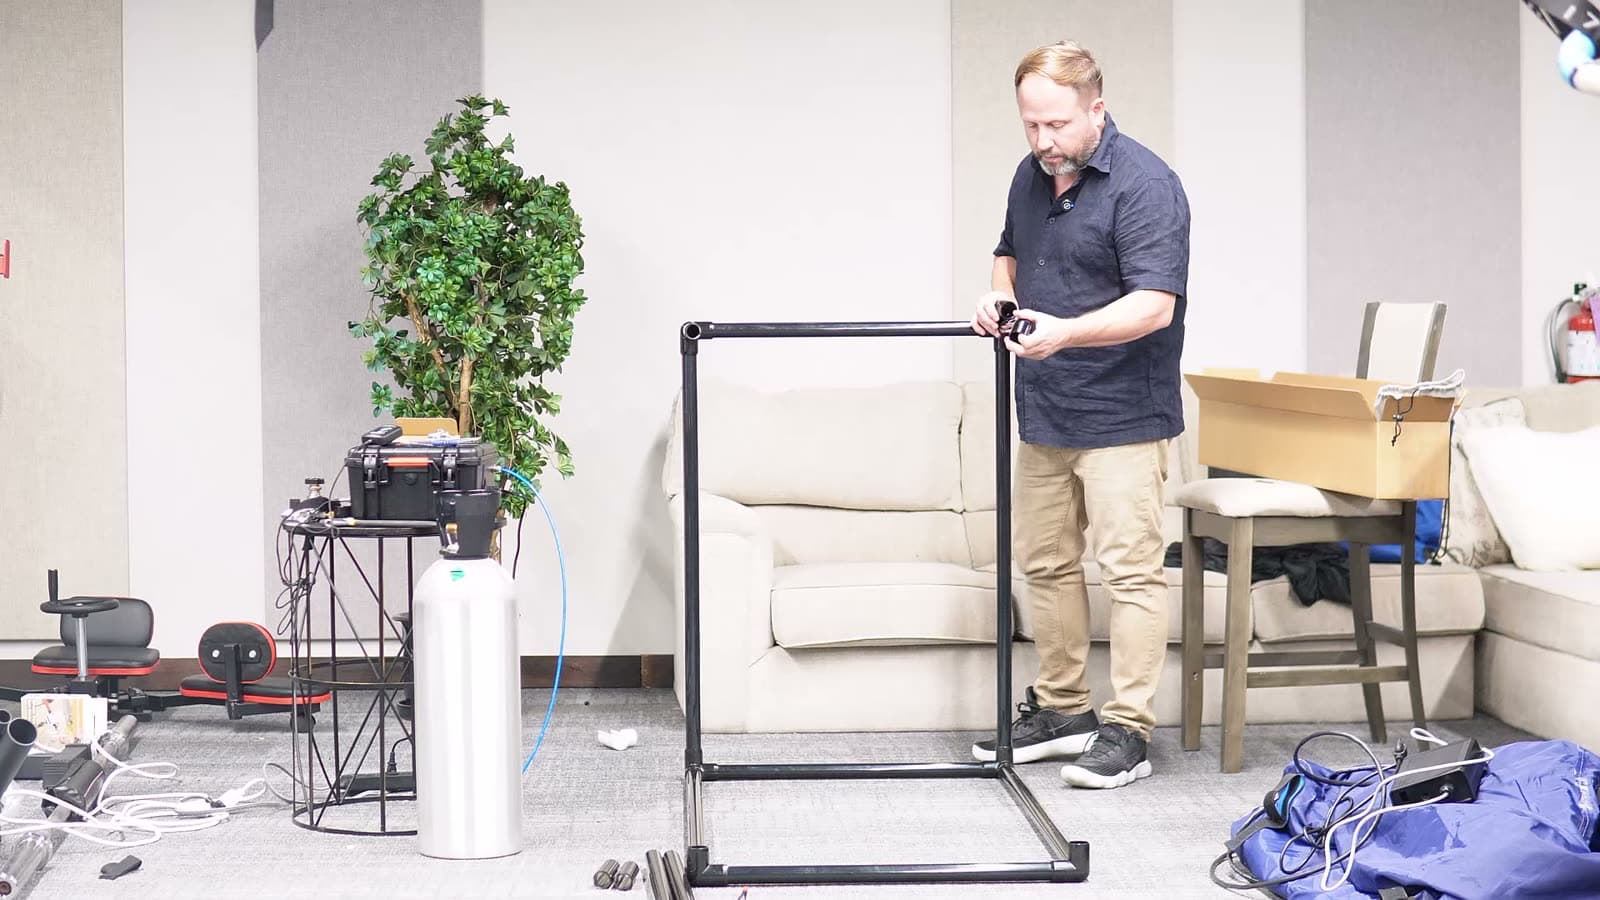
- 6Add the F pole across the bottom at the front. F is for front, B is for back.
- 7Add the two E diagonal poles, one on each side.
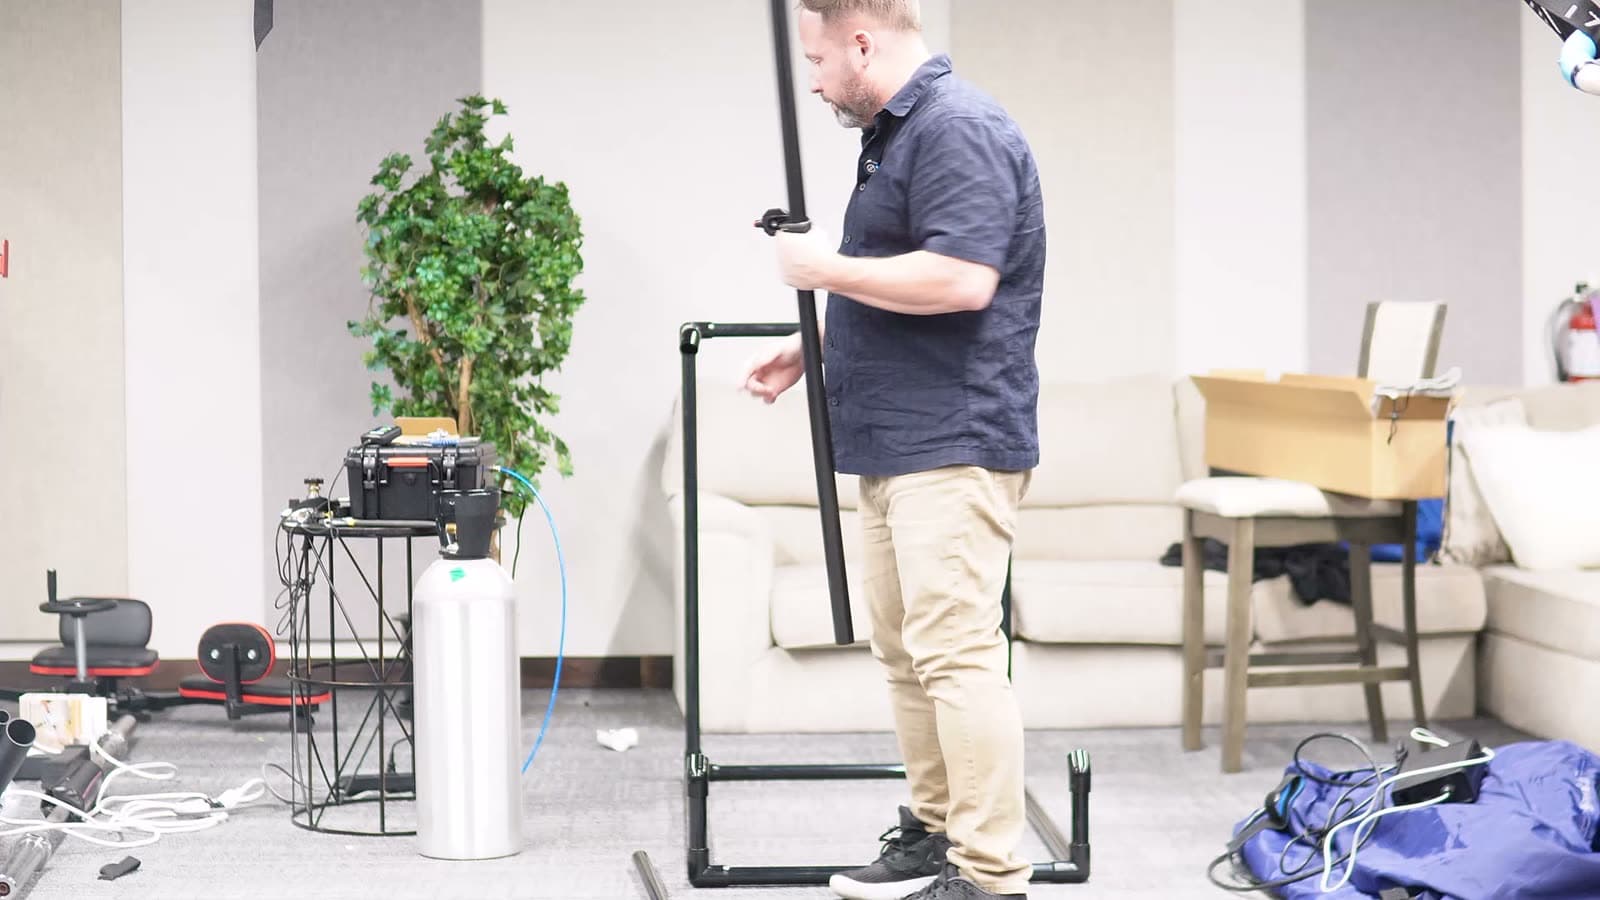
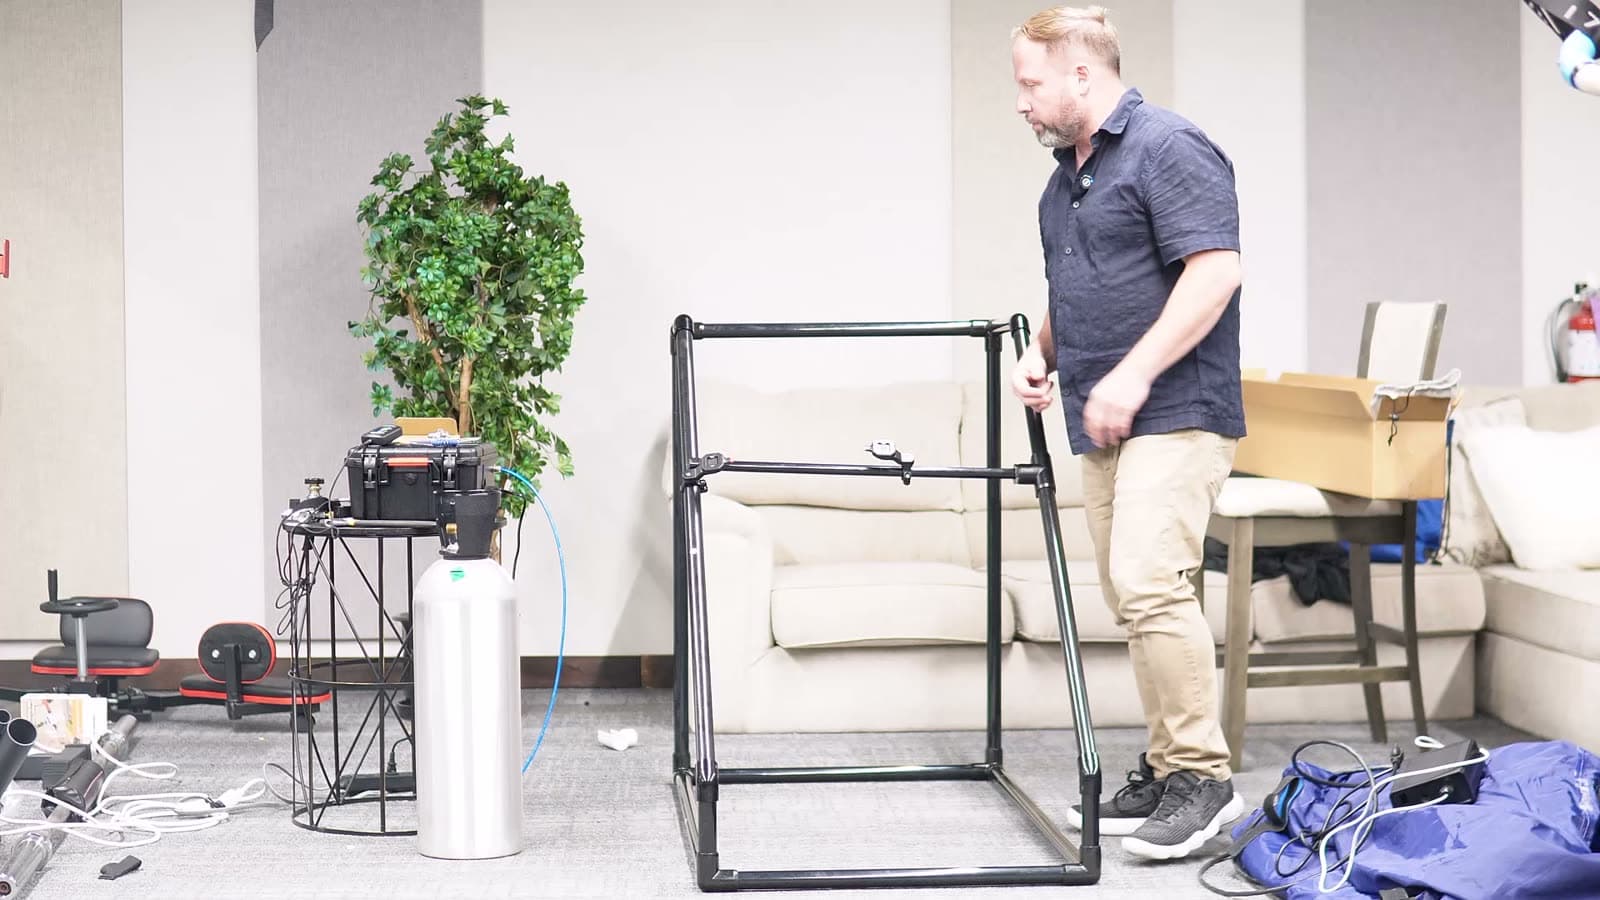
- 8Adjust the sliding clamps on the diagonals with the included Allen wrench and set them at the height you want.
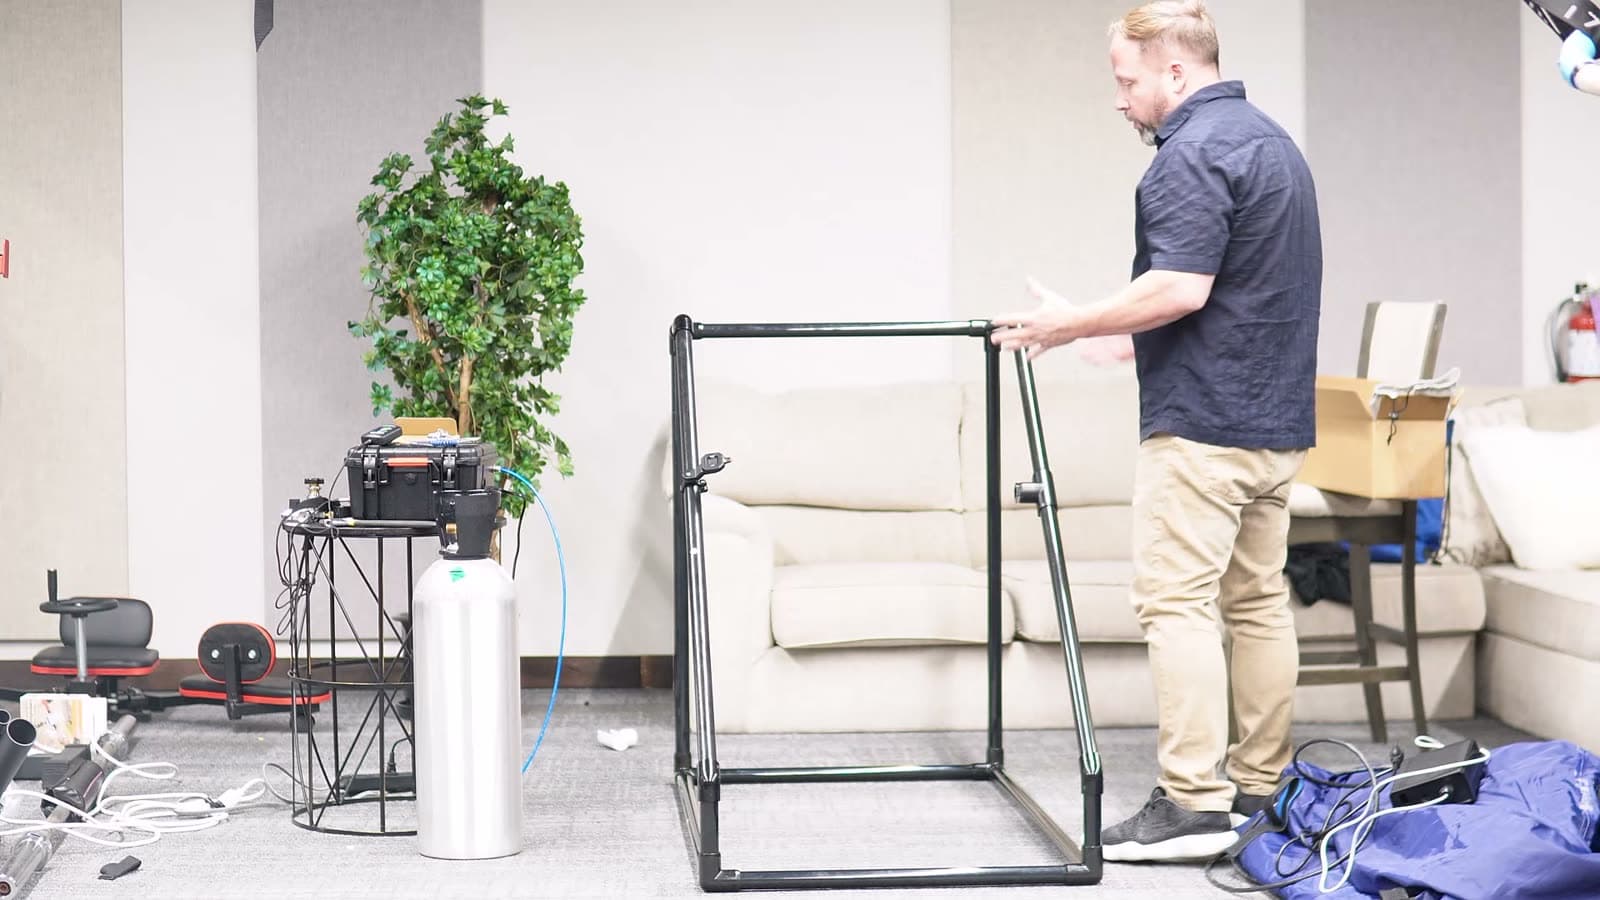
- 9Install the crossbar across the front. This is where your remote controls sit, and you can add a water bottle or phone holder. Put heavier items on the side with more support.
Part 2: Hang the Sauna Chamber
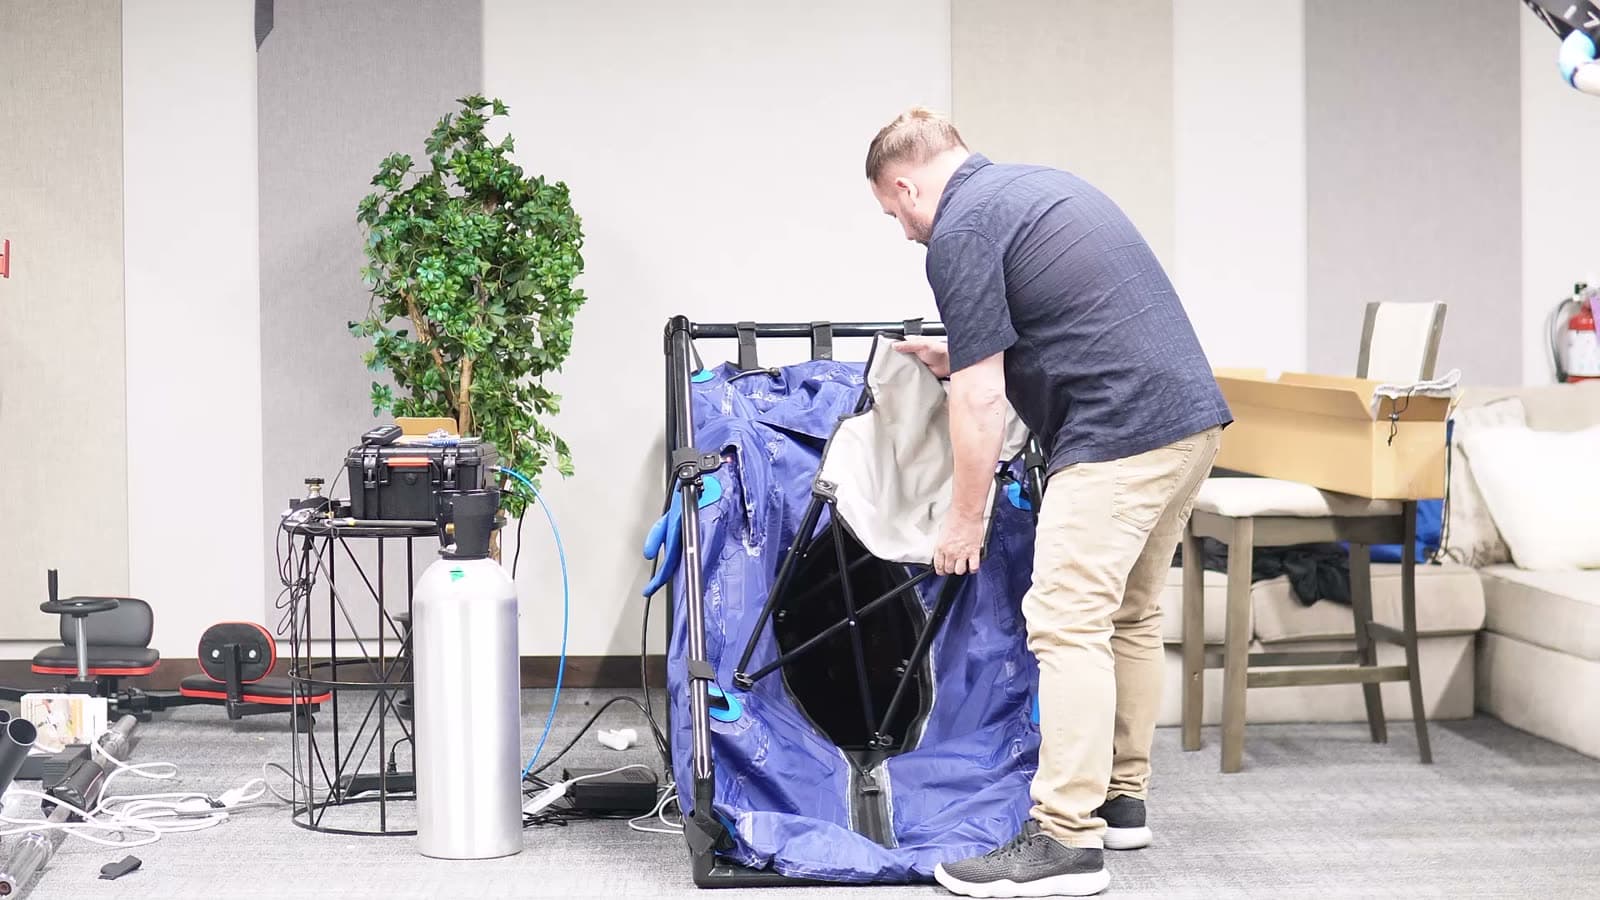
- 1Bring the folded sauna over to the frame. The cords come out the back of the unit, which is how you know which side is the back. Set it in the middle, under the bar.
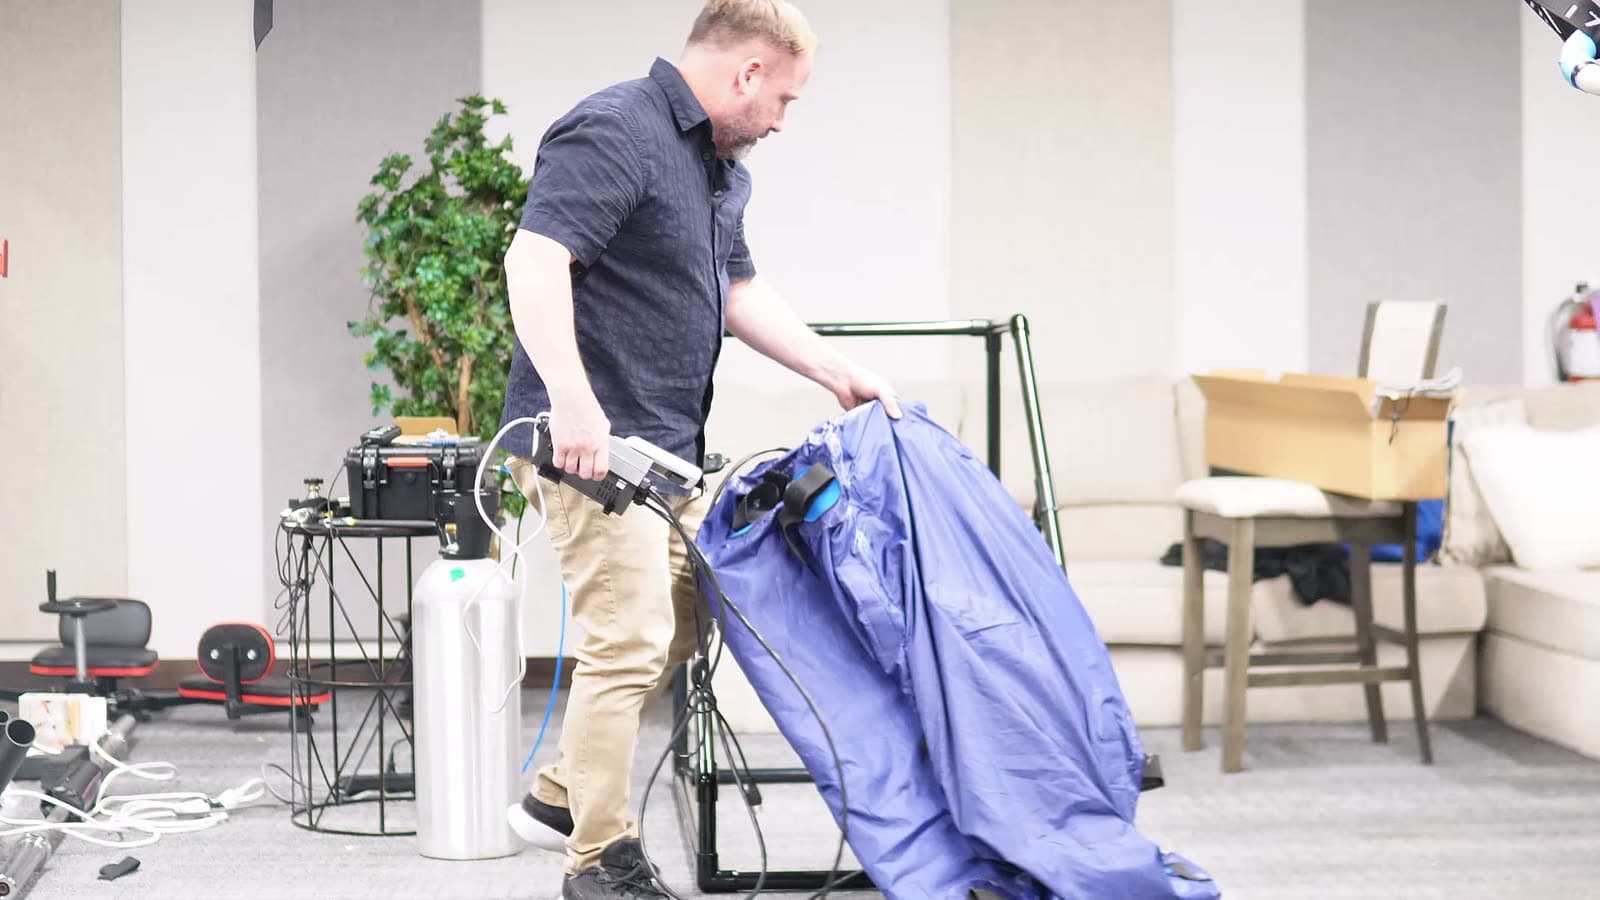
- 2Unfold it. The front is where the bottom of the zipper is. The back is where the head piece and the cords are.
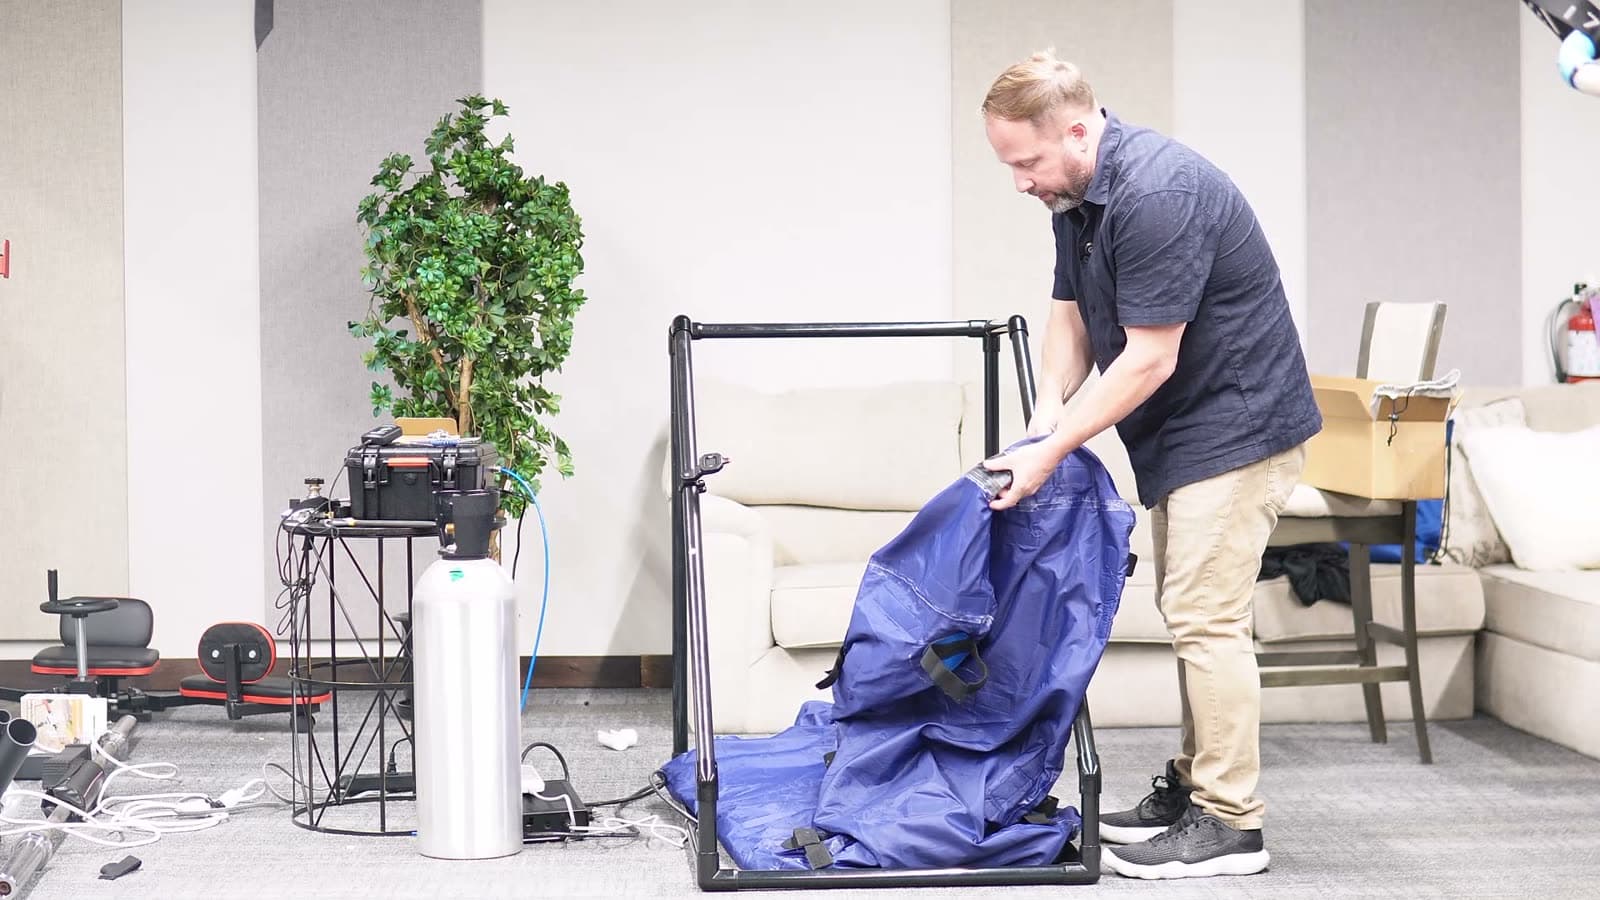
- 3Lift the chamber up, open it out, and attach the back pieces to the D pole at the back of the frame. Then attach one on each side at the top, over the C poles.
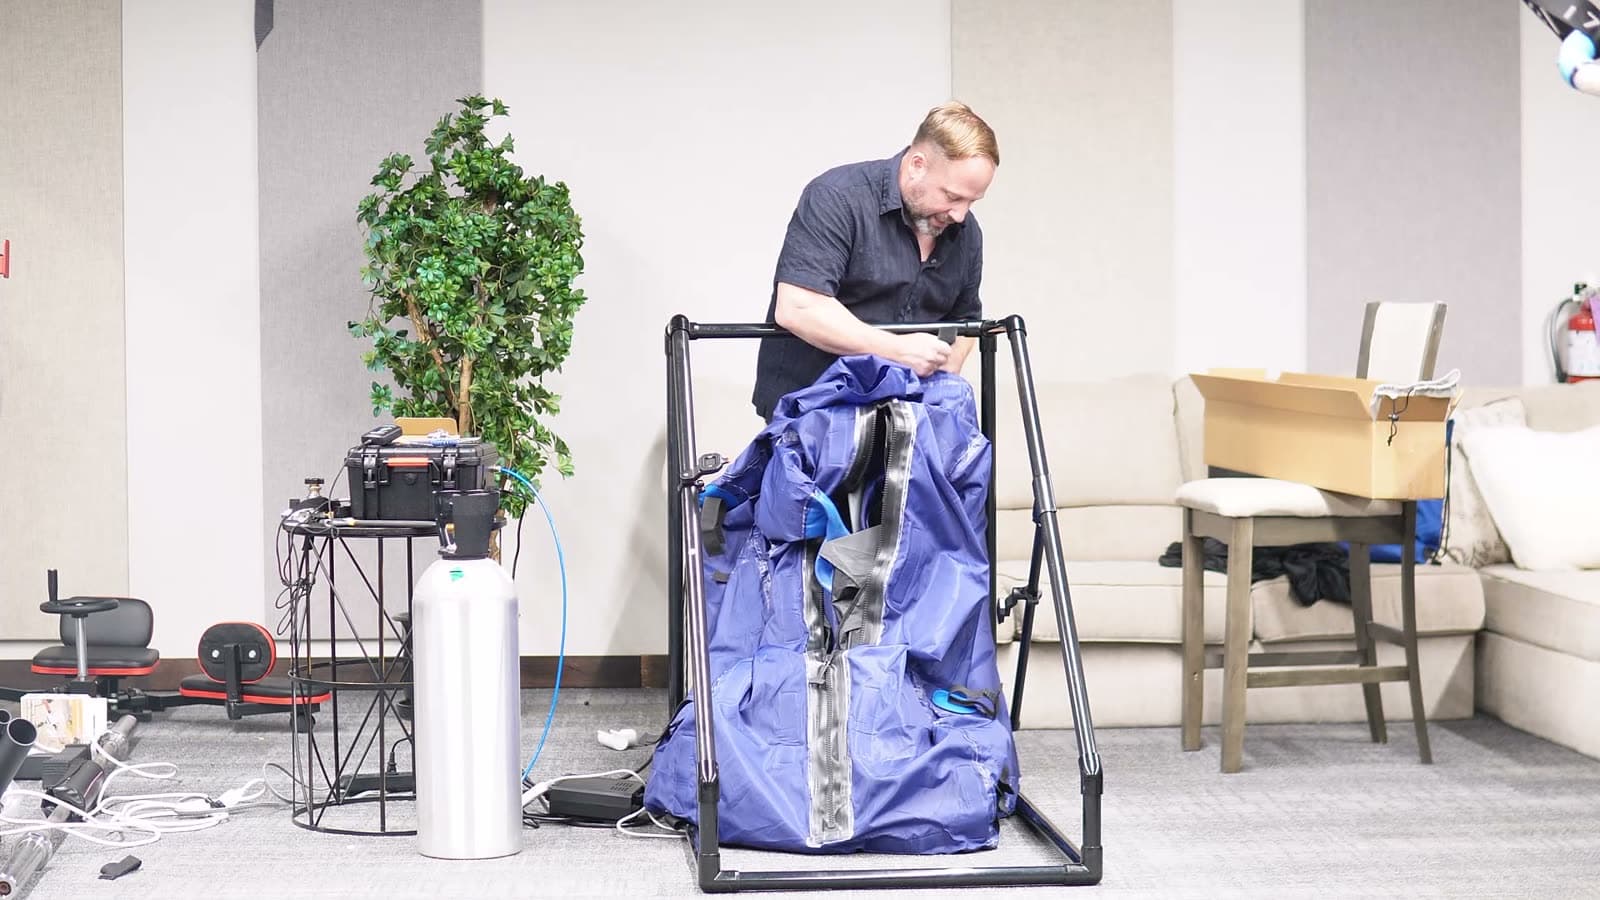
- 4Open the zipper and position the panels. Inside there are two side panels to push out to the sides, plus a foot panel.
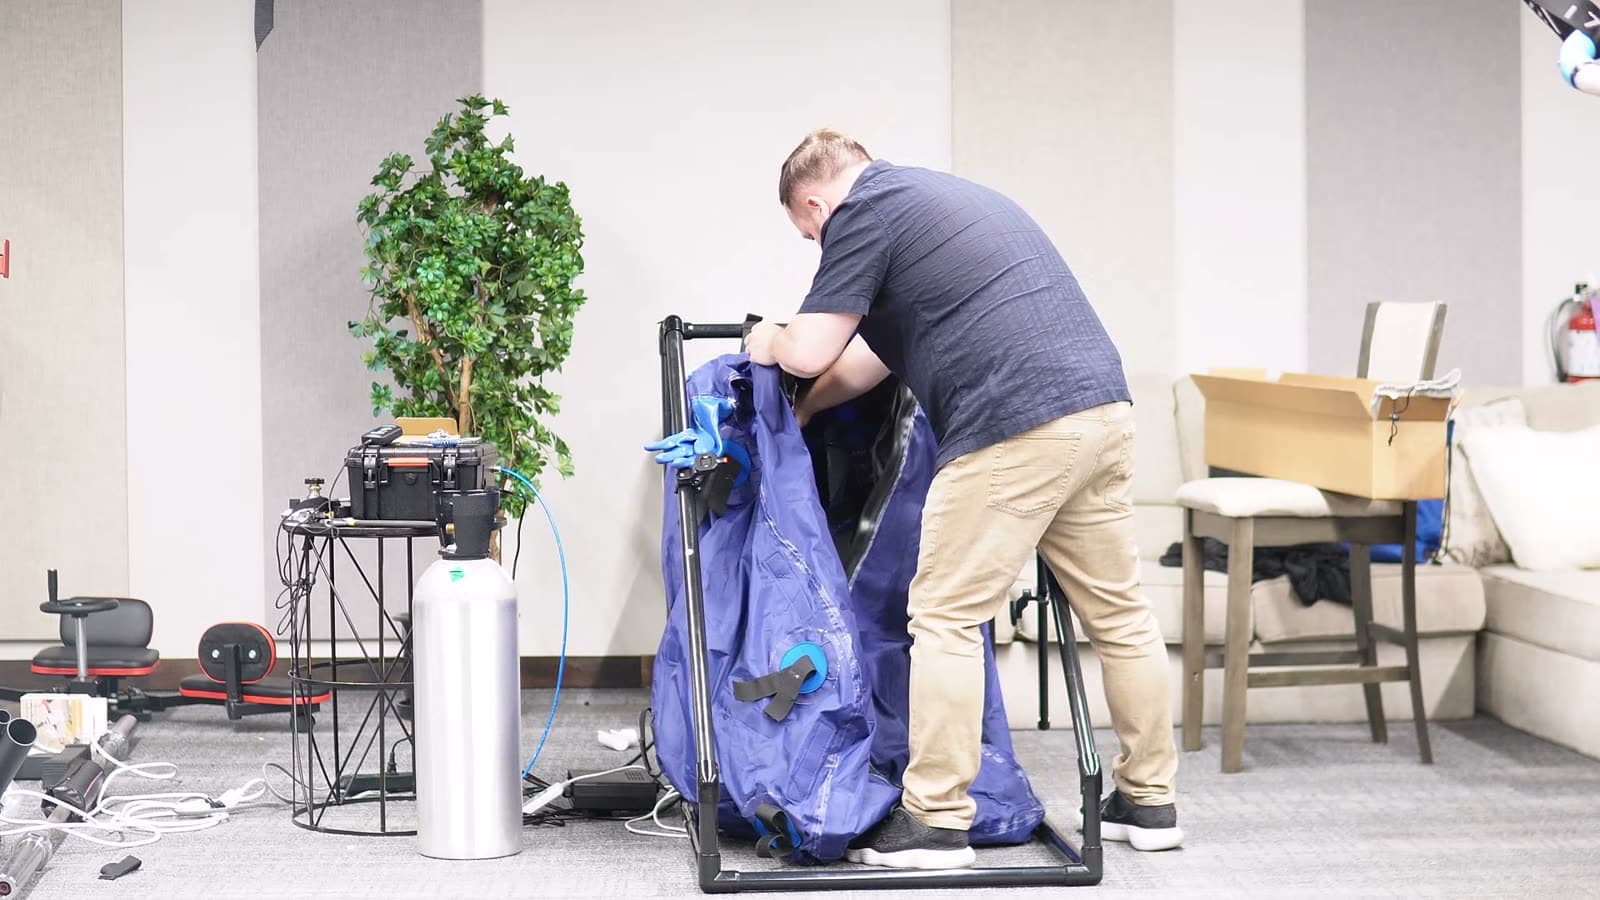
- 5Strap the side pieces up to the frame, then pull the chamber forward and attach the front straps. There are more straps at the back as well. Once set up, the straps are optional: the vacuum pulls the chamber into place during use.
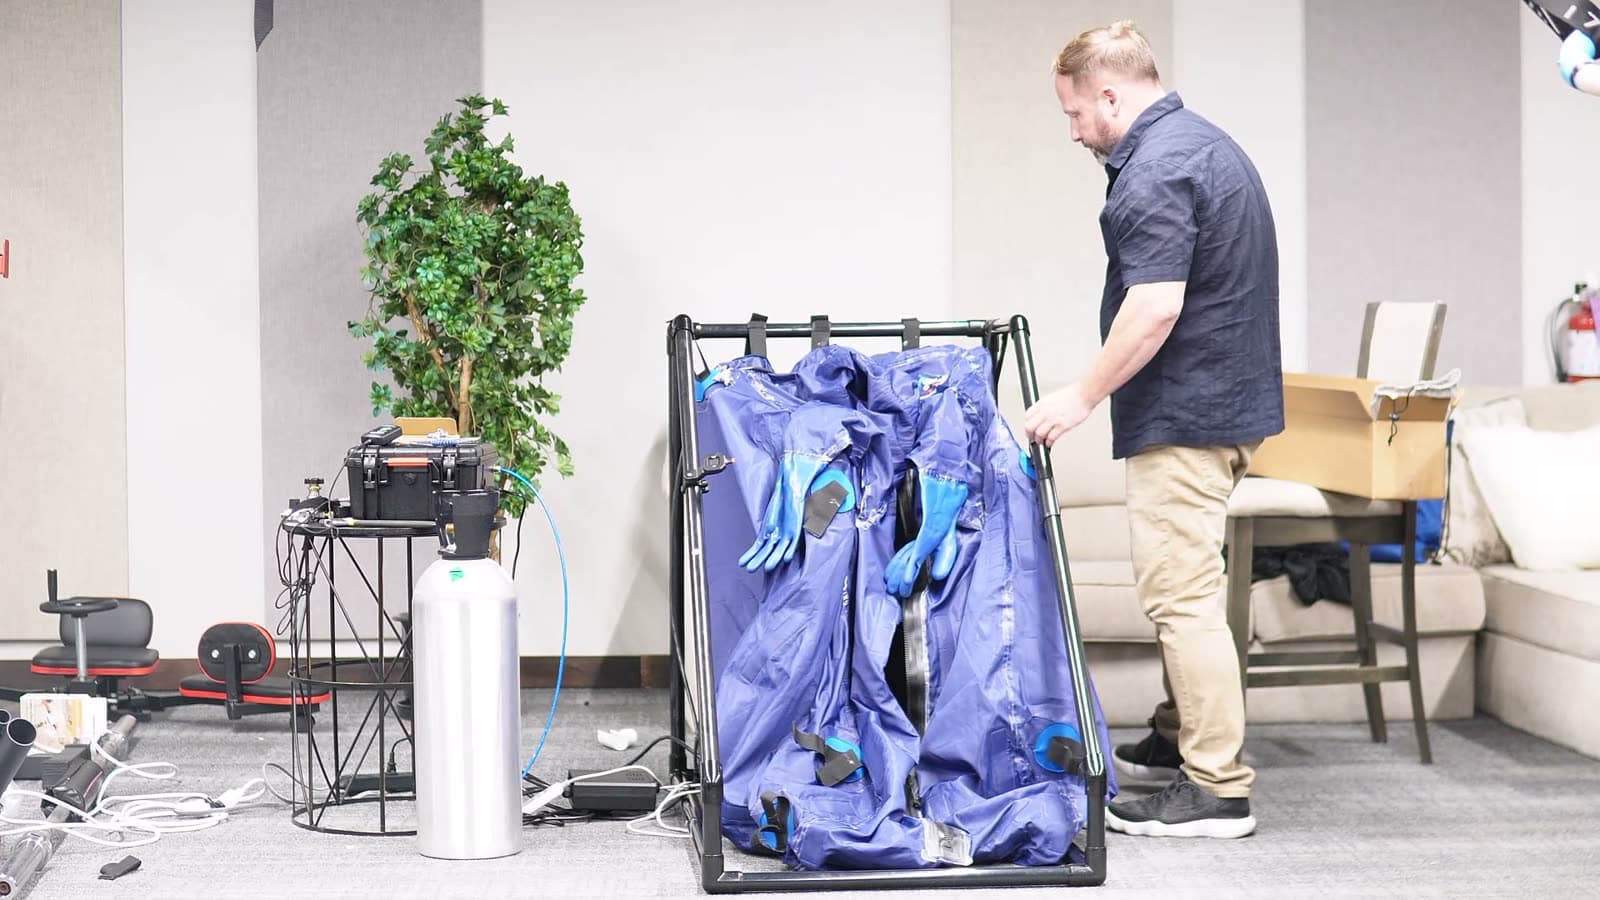
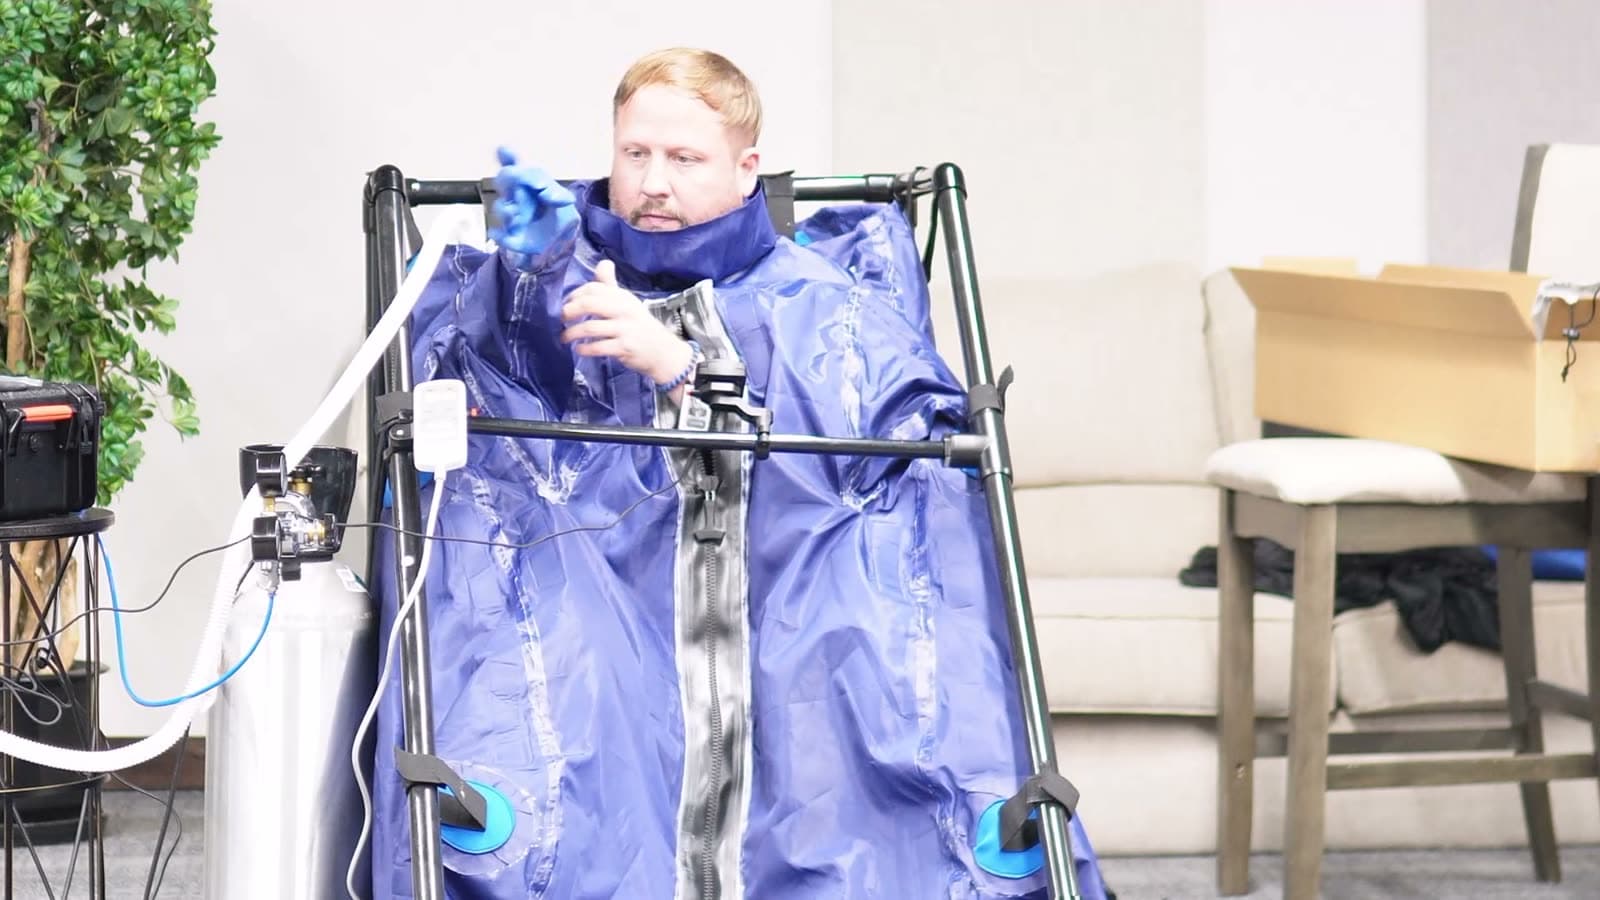
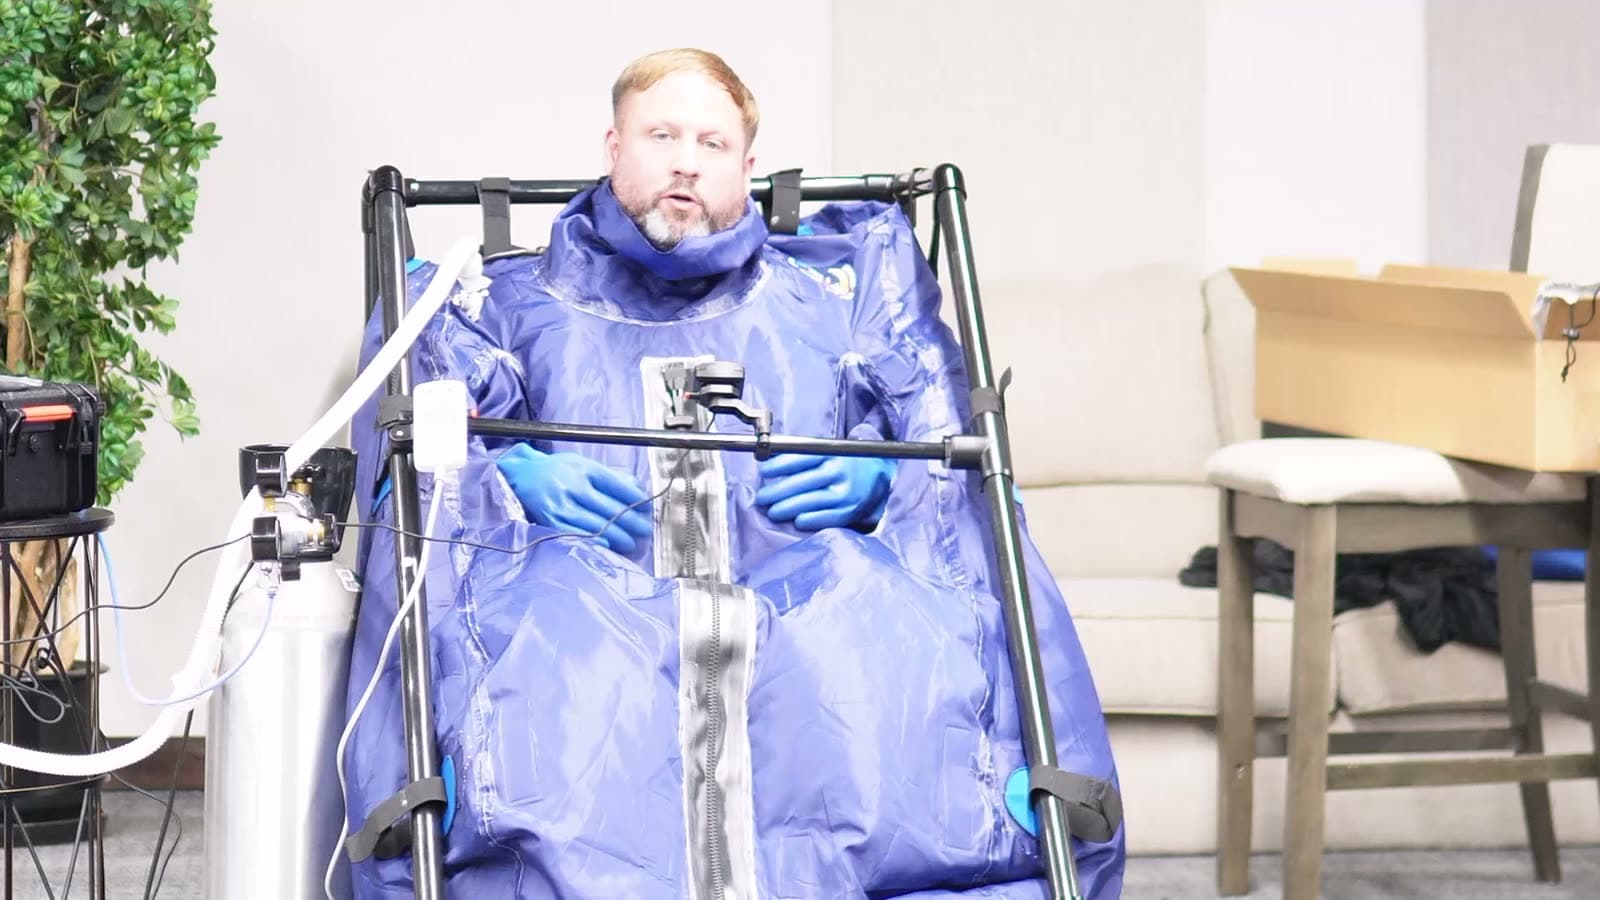
- 6Know the layout. The top opening is where your head goes through, and the two sleeves have gloves so you can use the remote and drink water from inside. There are four interior panels: two sides, one back, and the foot panel.
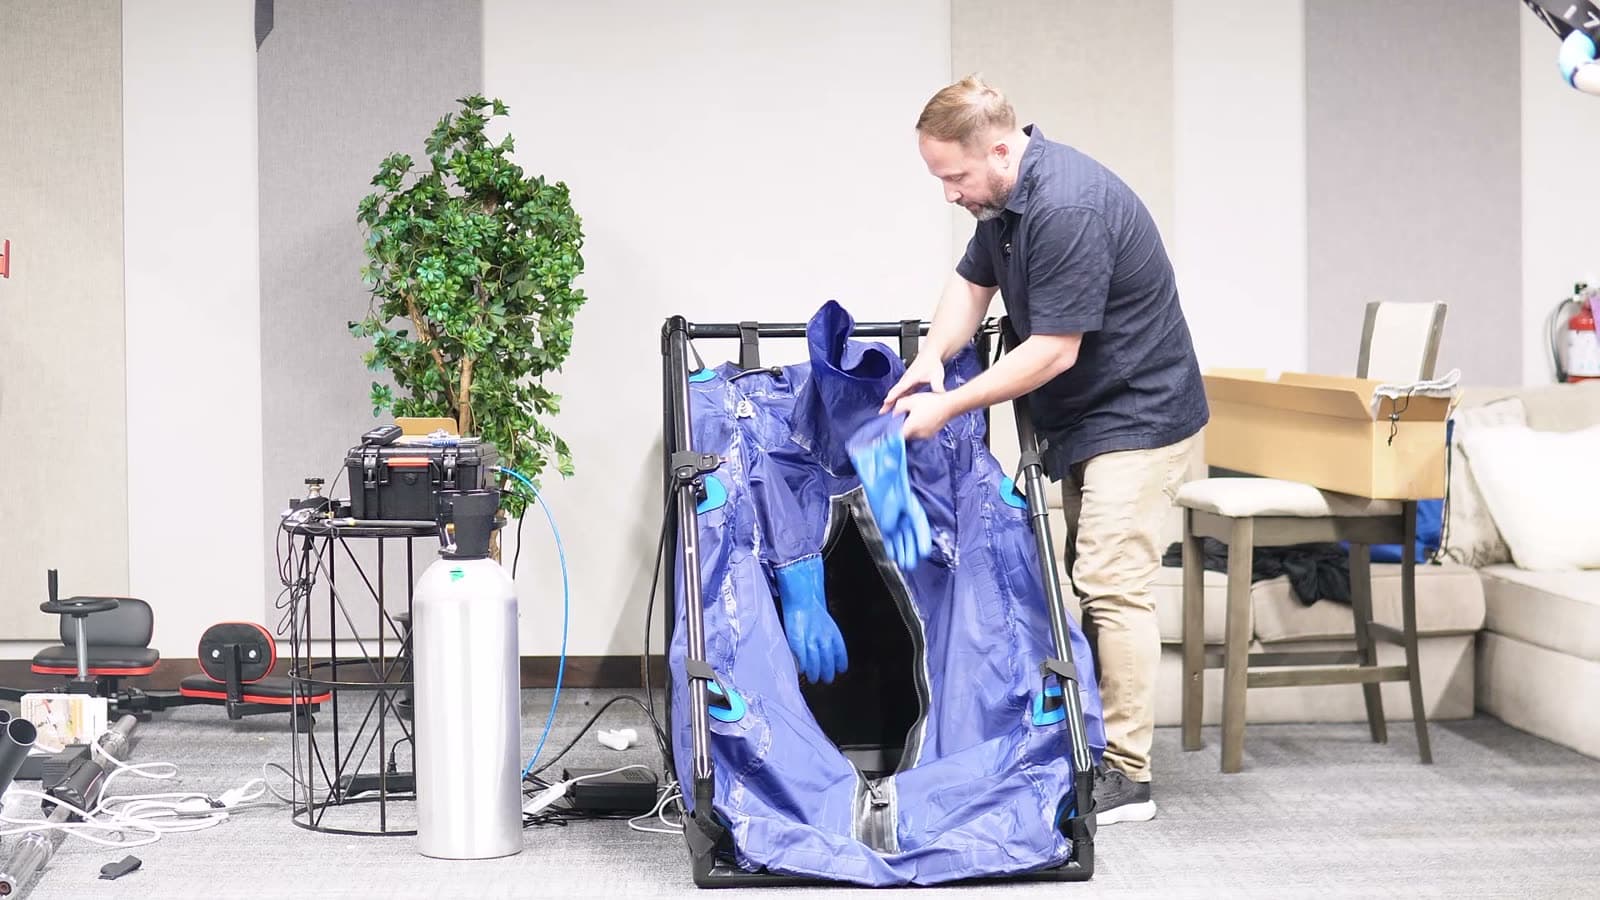
- 7Place the included chair inside. If it is uncomfortable, or you are setting up for an elderly or less mobile person, any chair that fits works.
Part 3: Power and Machine Connections
- 1The black electric box is attached to the sauna unit itself. Keep it on the floor. Its remote control pops onto the holder on the crossbar.
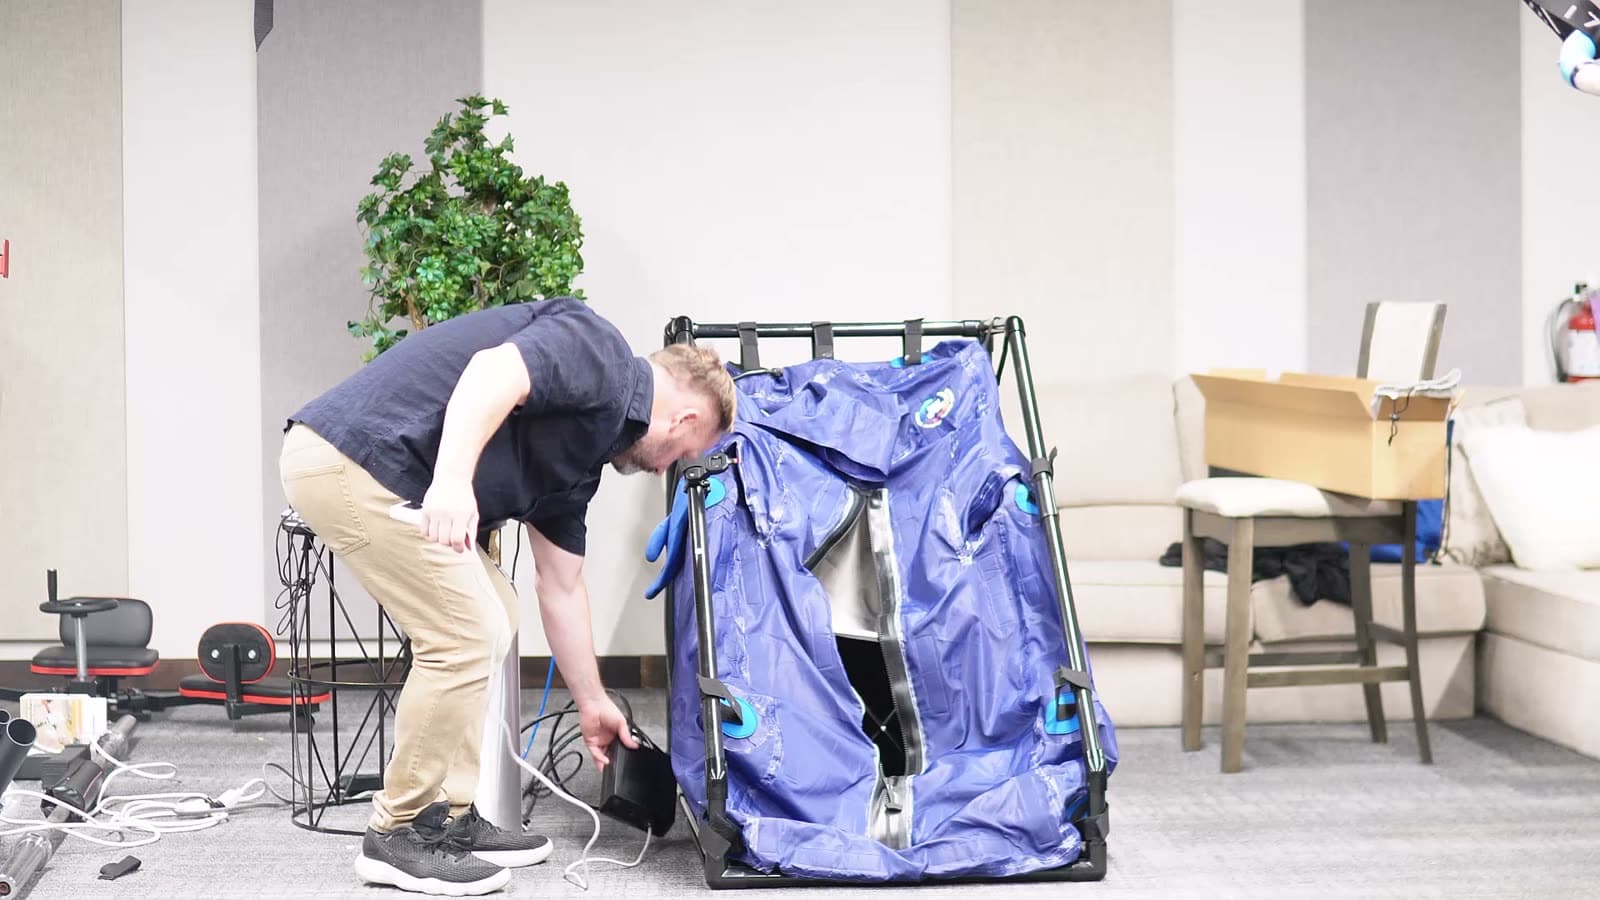
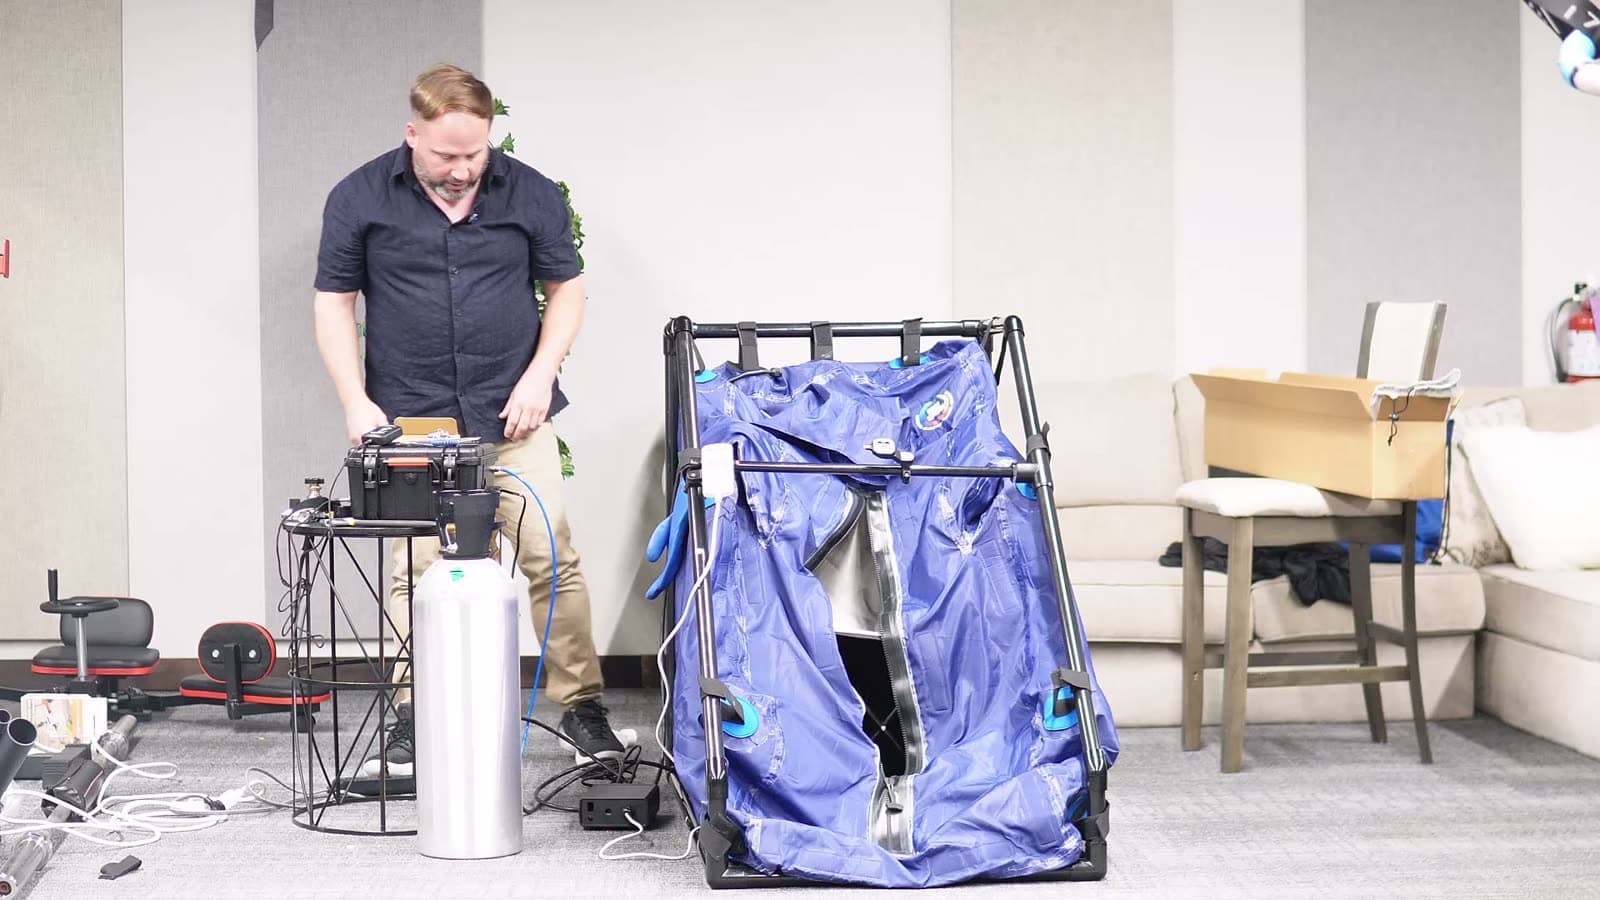
- 2Plan for a power strip. There are three things to plug in: the small box, the larger box, and the heating element. A power strip also gives you one switch to shut everything down after a session.
Part 4: Connect the CO2
- 1Install the heating element on the tank valve. Check that the white washer is seated inside the fitting, thread it on, then snug it down with an adjustable wrench.
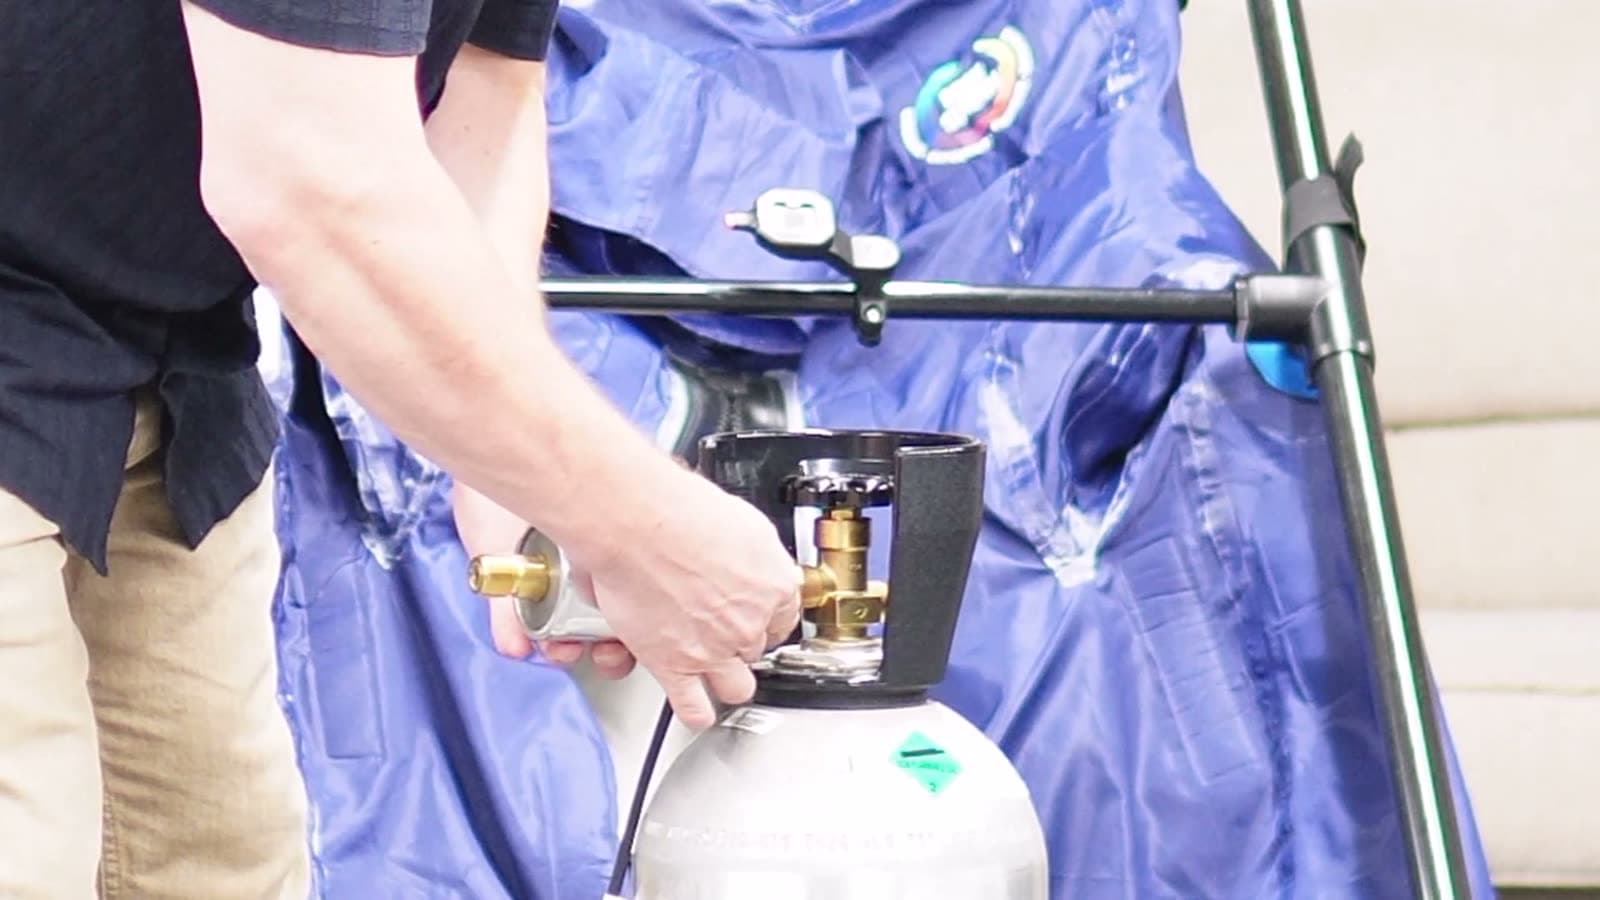
- 2Attach the regulator to the heating element. It also uses a white washer, and a spare is included on the unit. Replacements are easy to find online as CO2 tank washers. Screw it on, then tighten with the wrench while holding the top part steady.
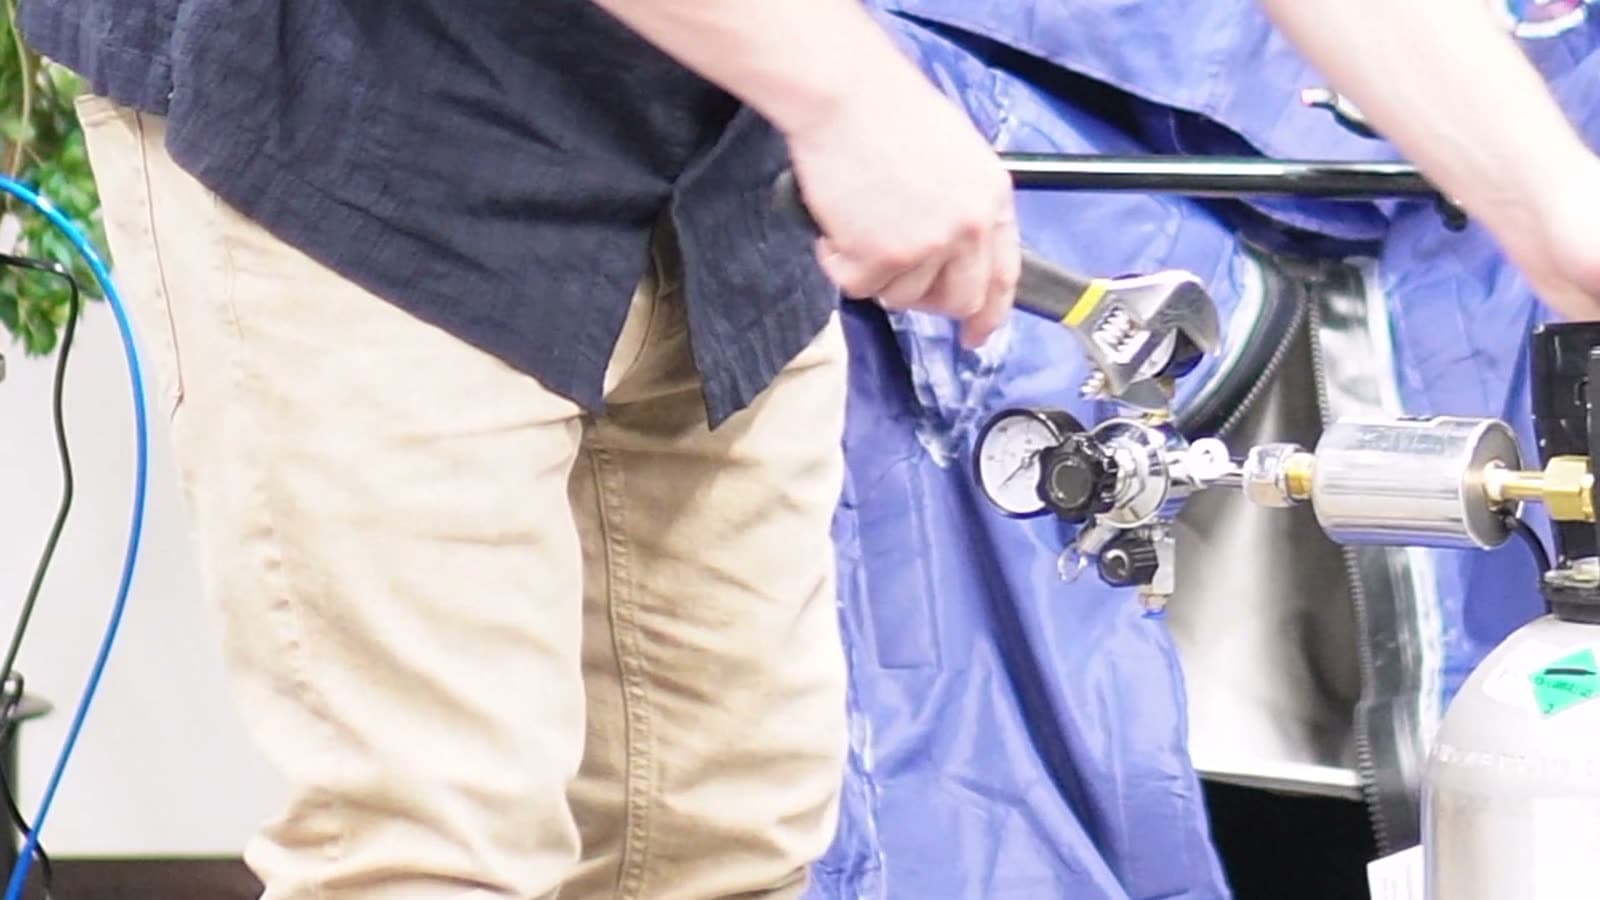
- 3The black box connects to a wired remote with a CO2 button and a Vacuum button.
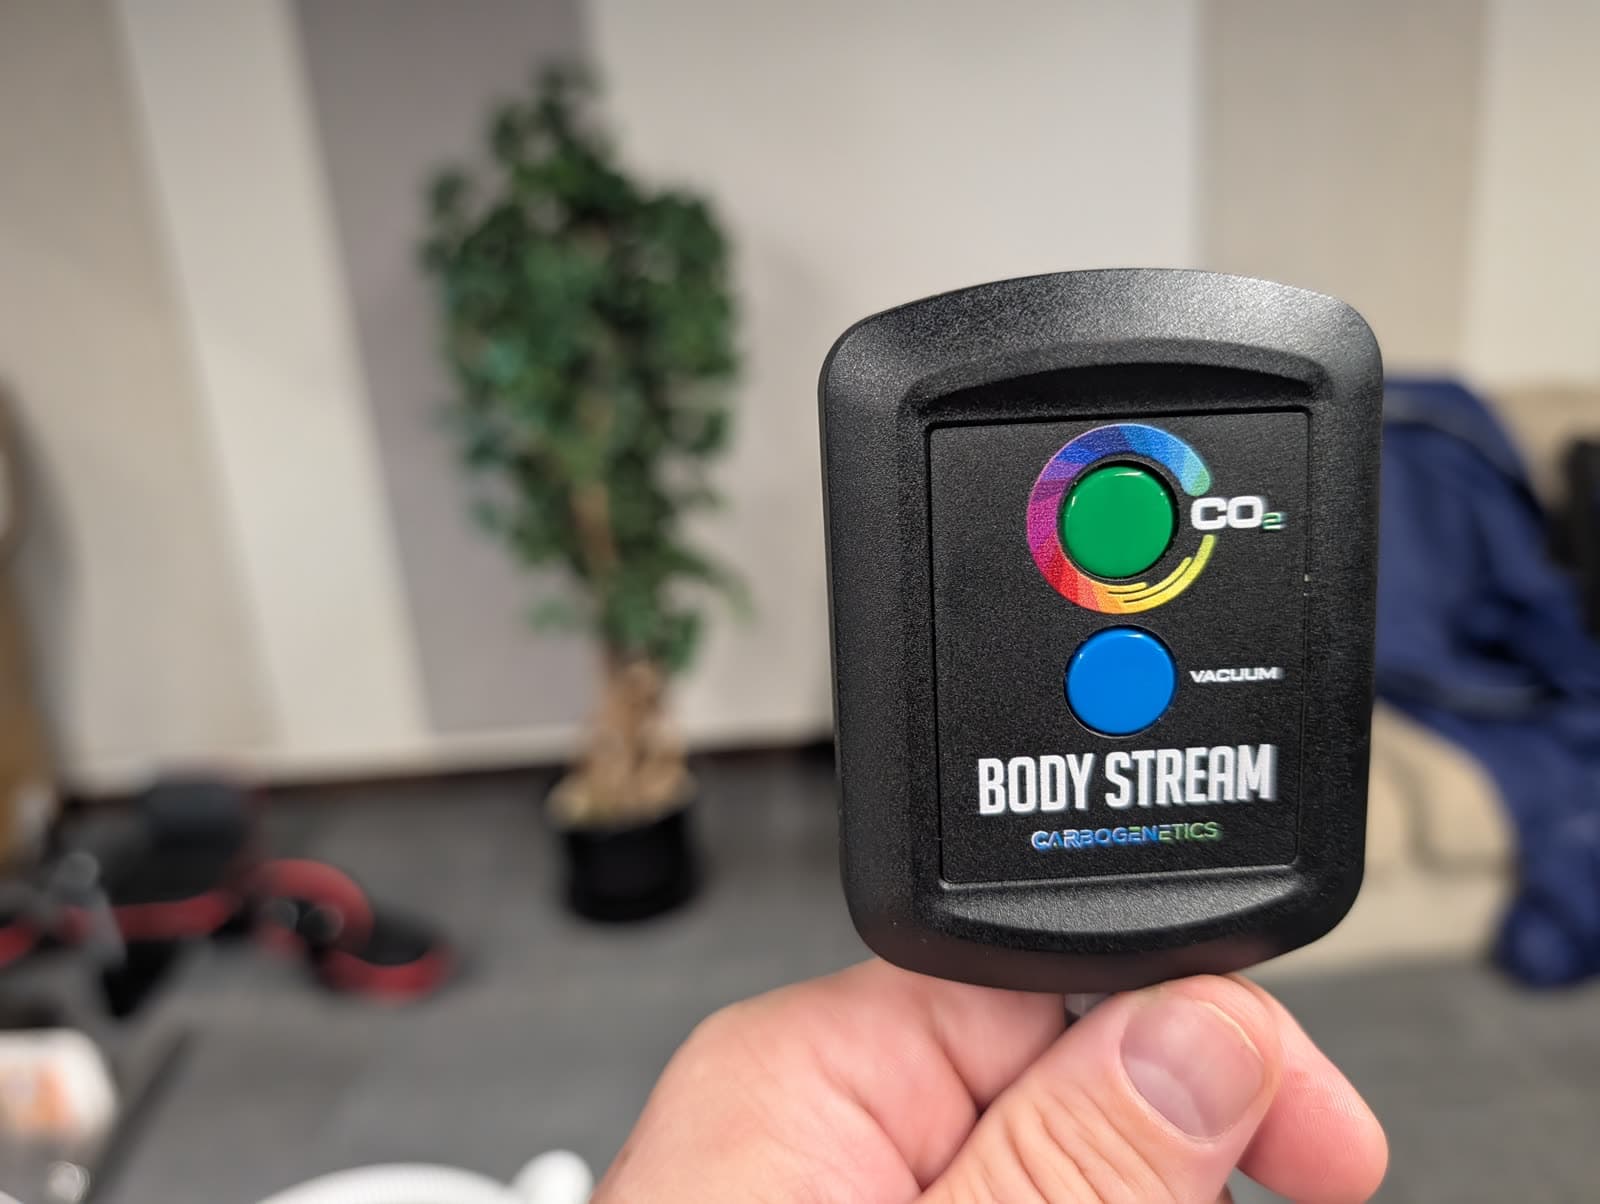
- 4A wireless remote with the same two buttons goes around your wrist inside the sauna.
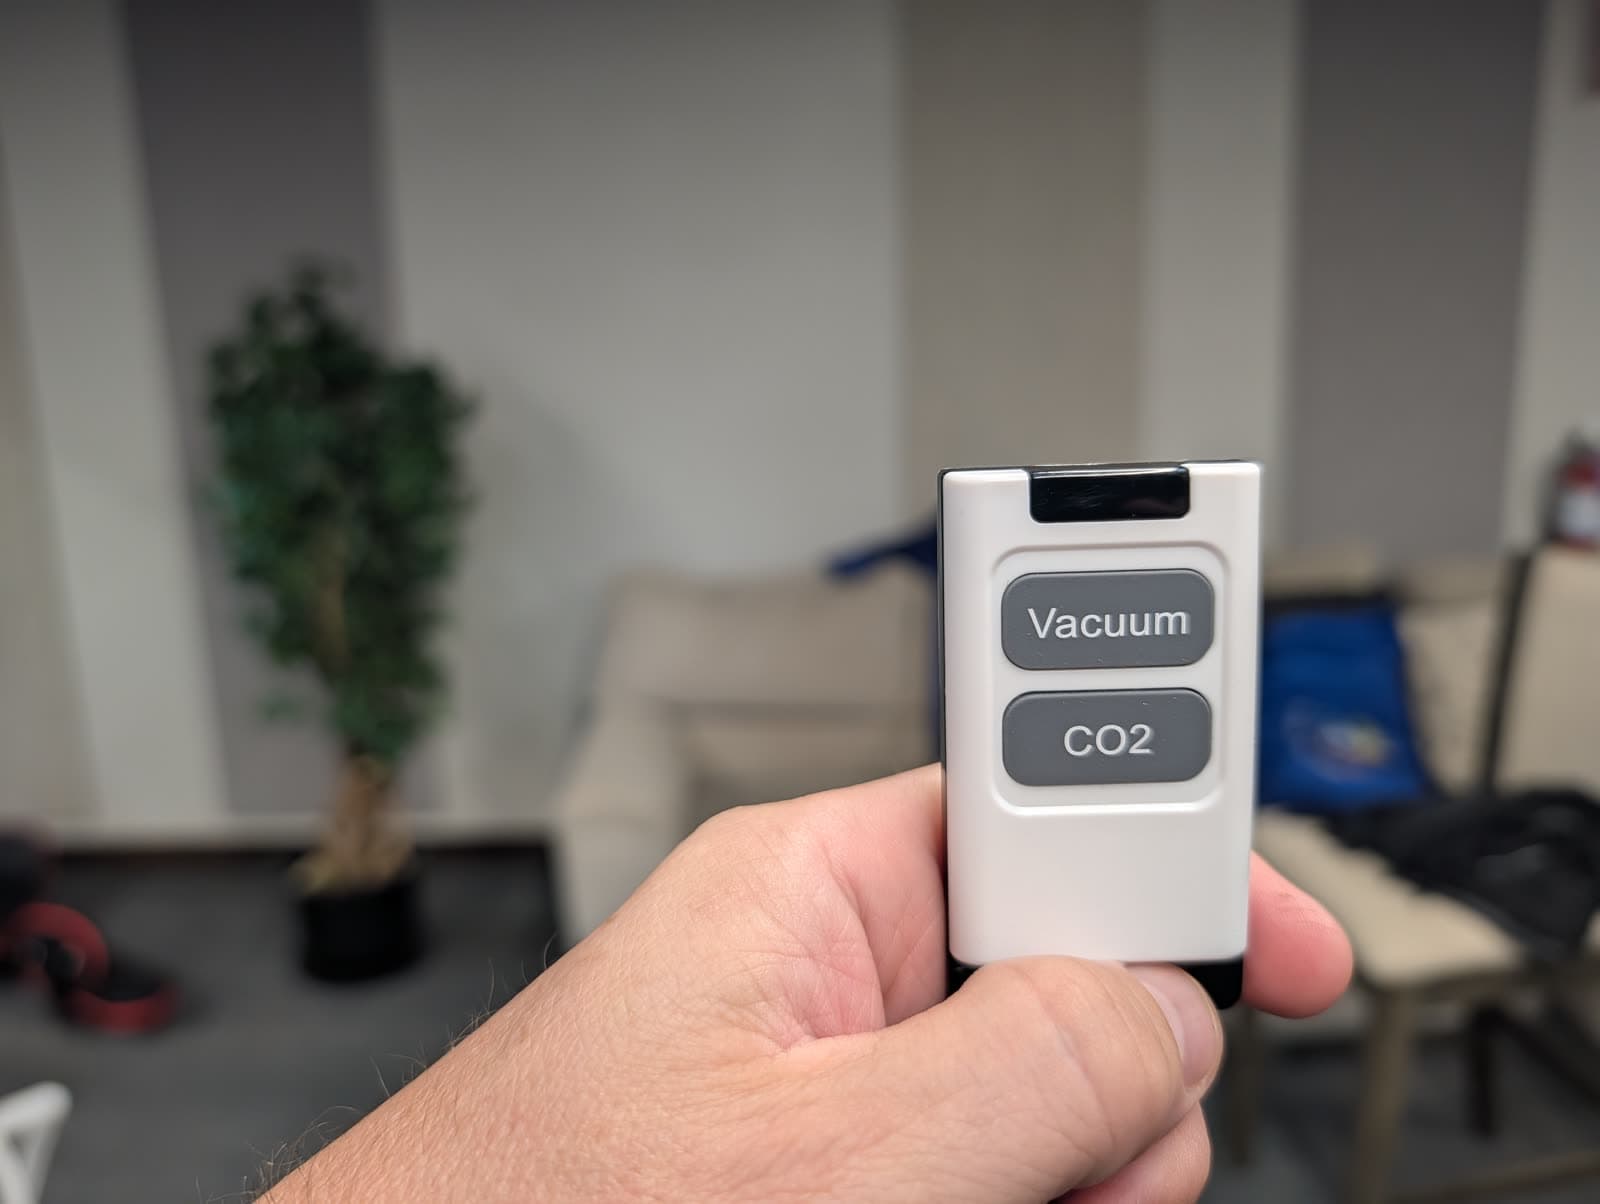
- 5Push the blue tube into the fitting on the bottom of the regulator. To release it, press up on the blue ring with two fingers and pull the tube out.
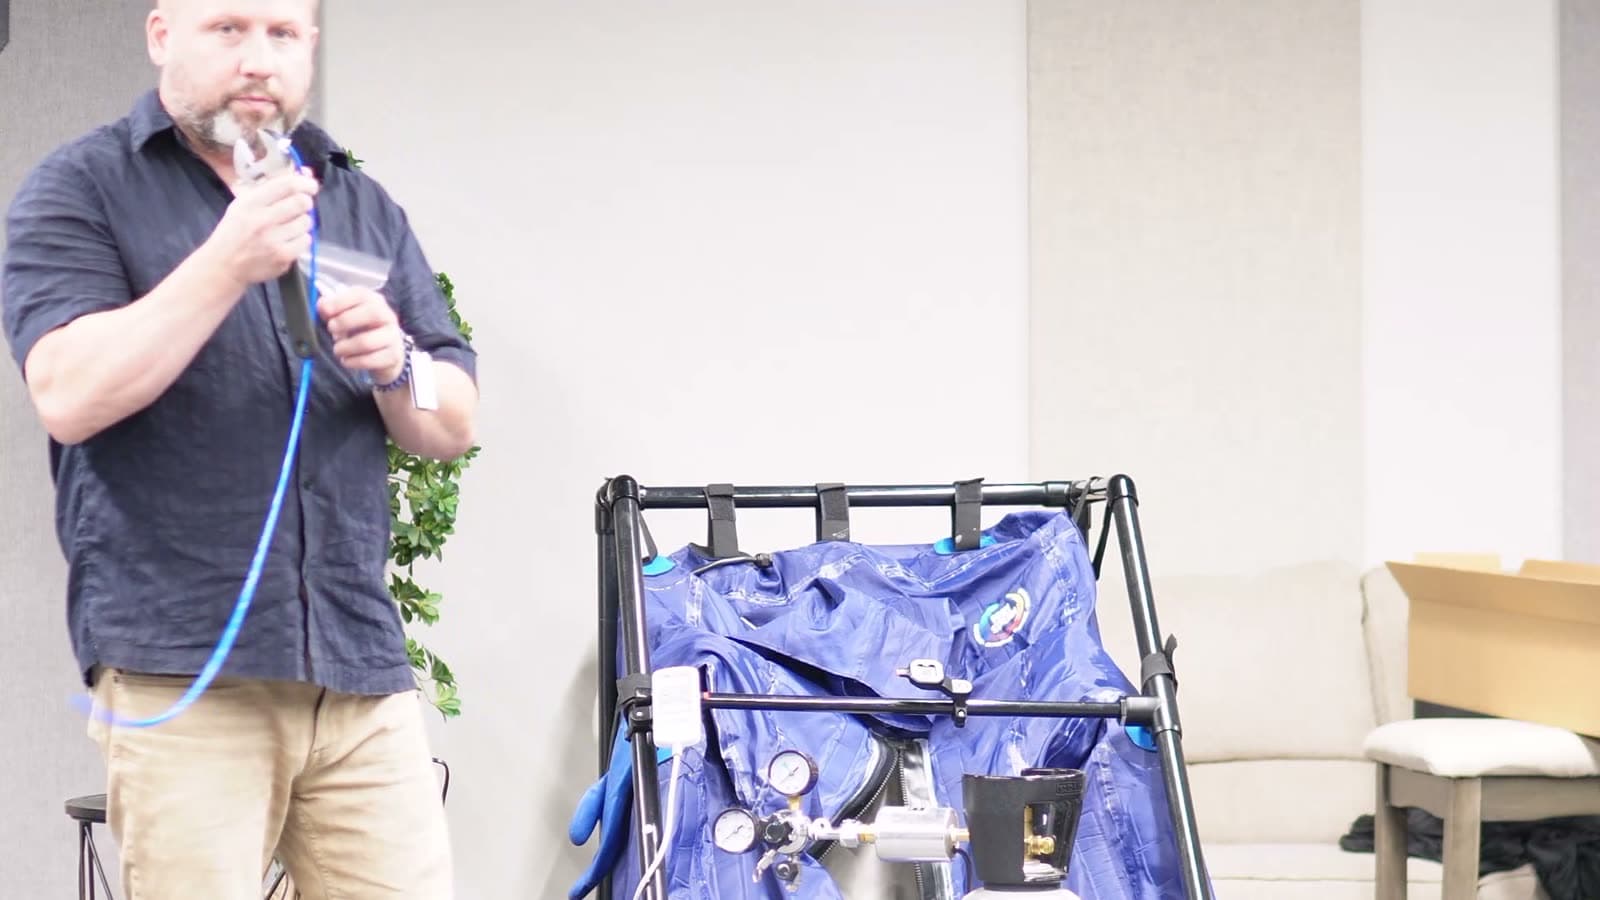
- 6Position the tank close to where your arm will be, then push the blue tube into the white fitting on the machine. Same release mechanism: press the ring, pull the tube.
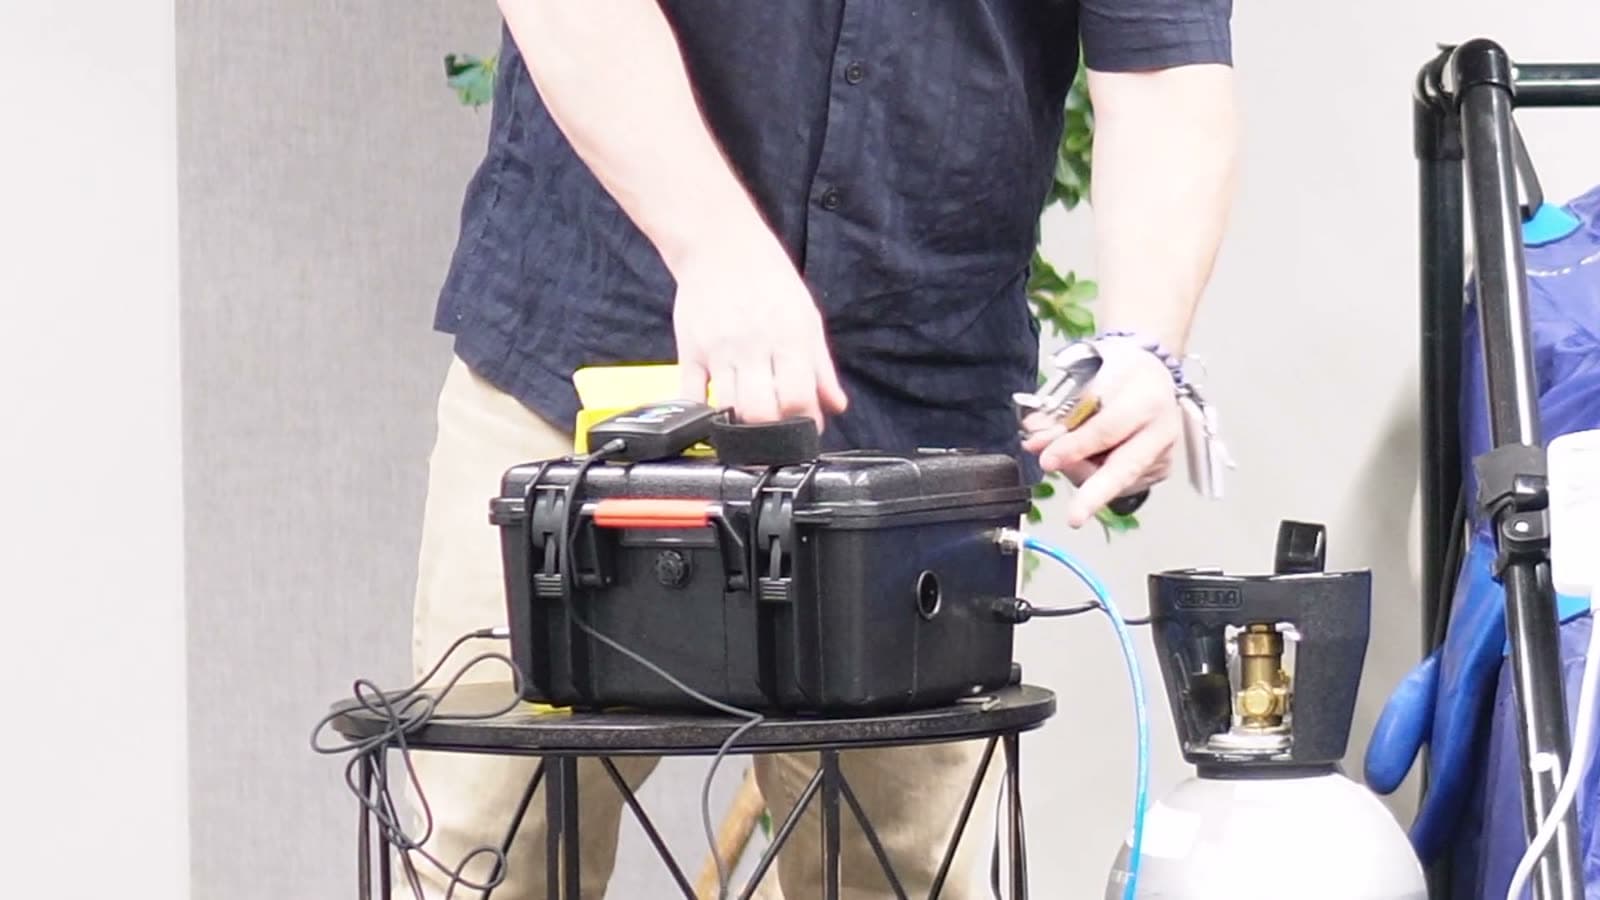
- 7Connect the wired remote with its aux cable to the black box.
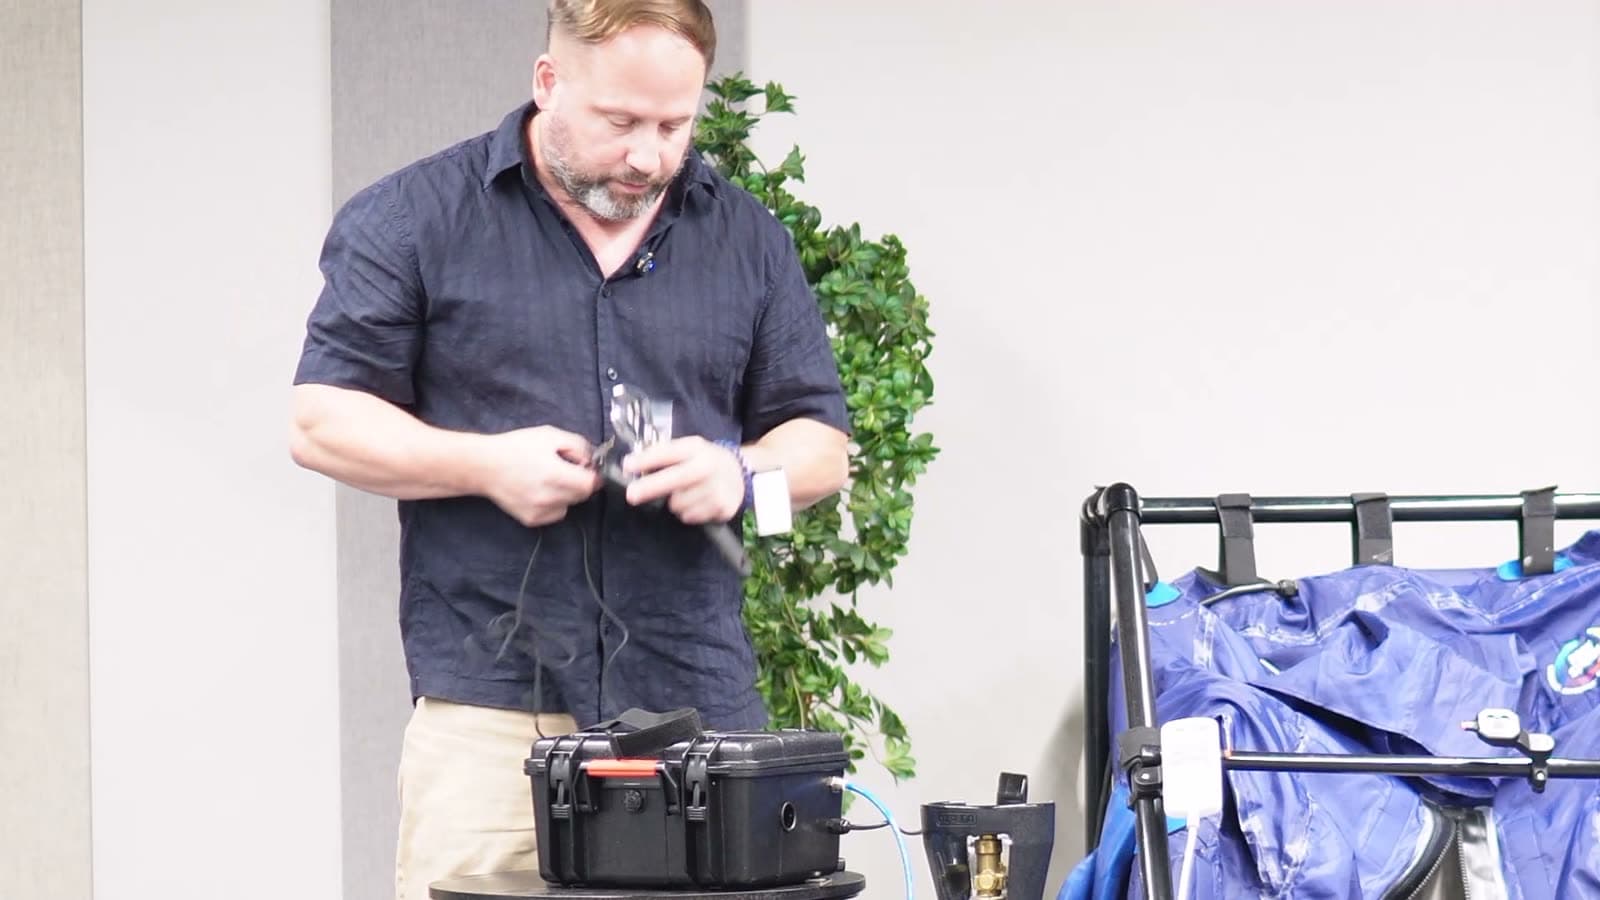
- 8Plug the heating element cord into the power strip about five minutes before your session so the fittings warm up and you can confirm there are no leaks before you get in.
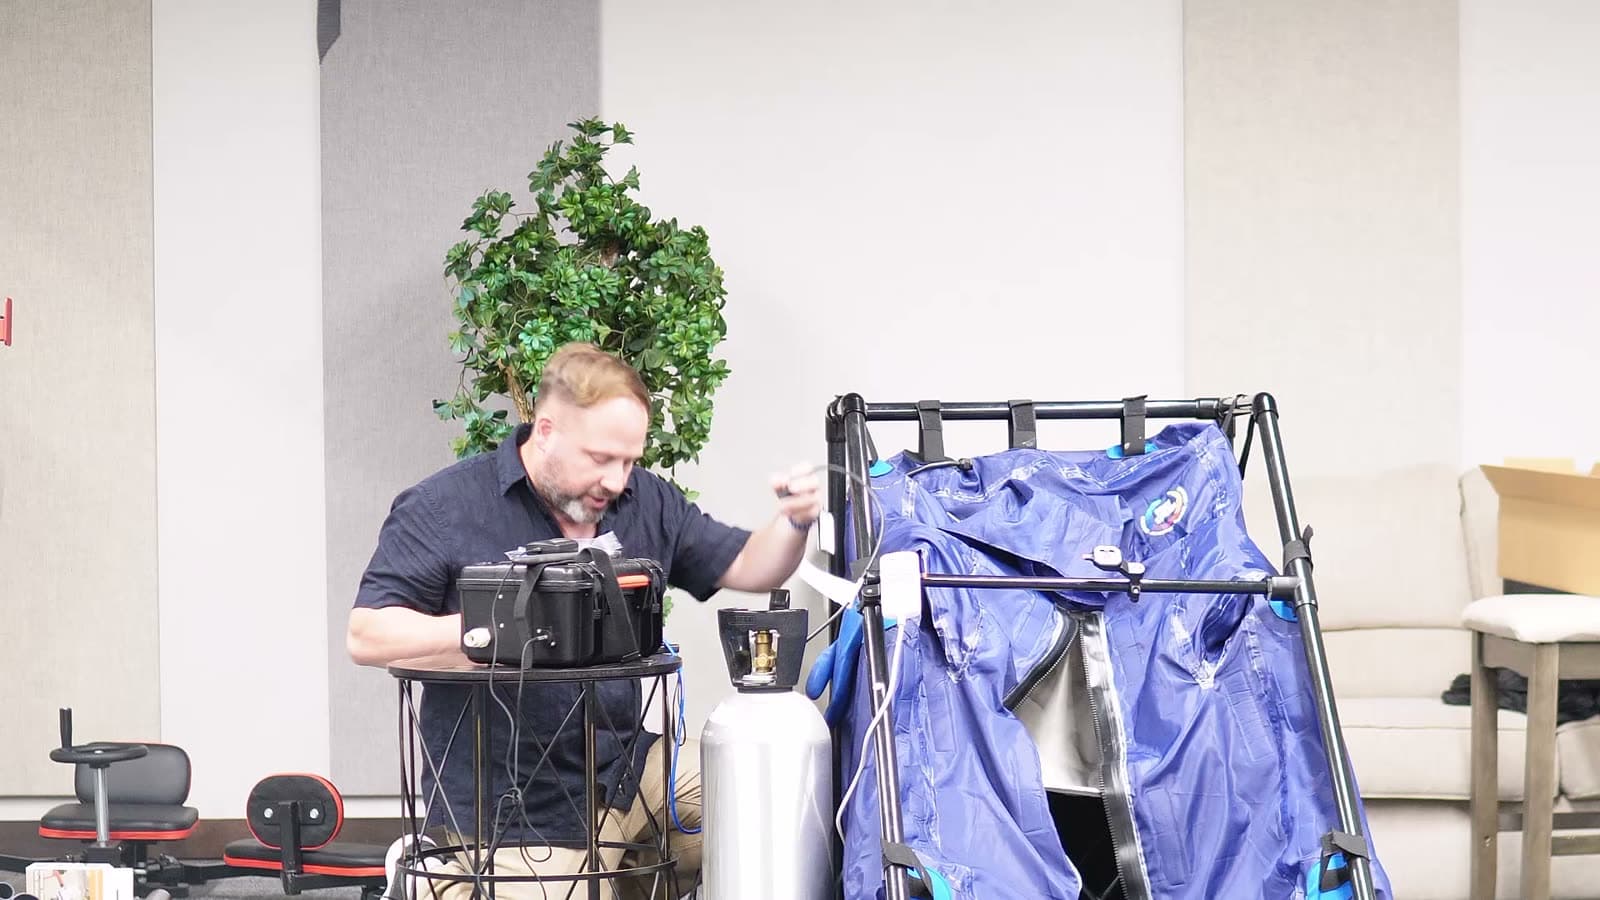
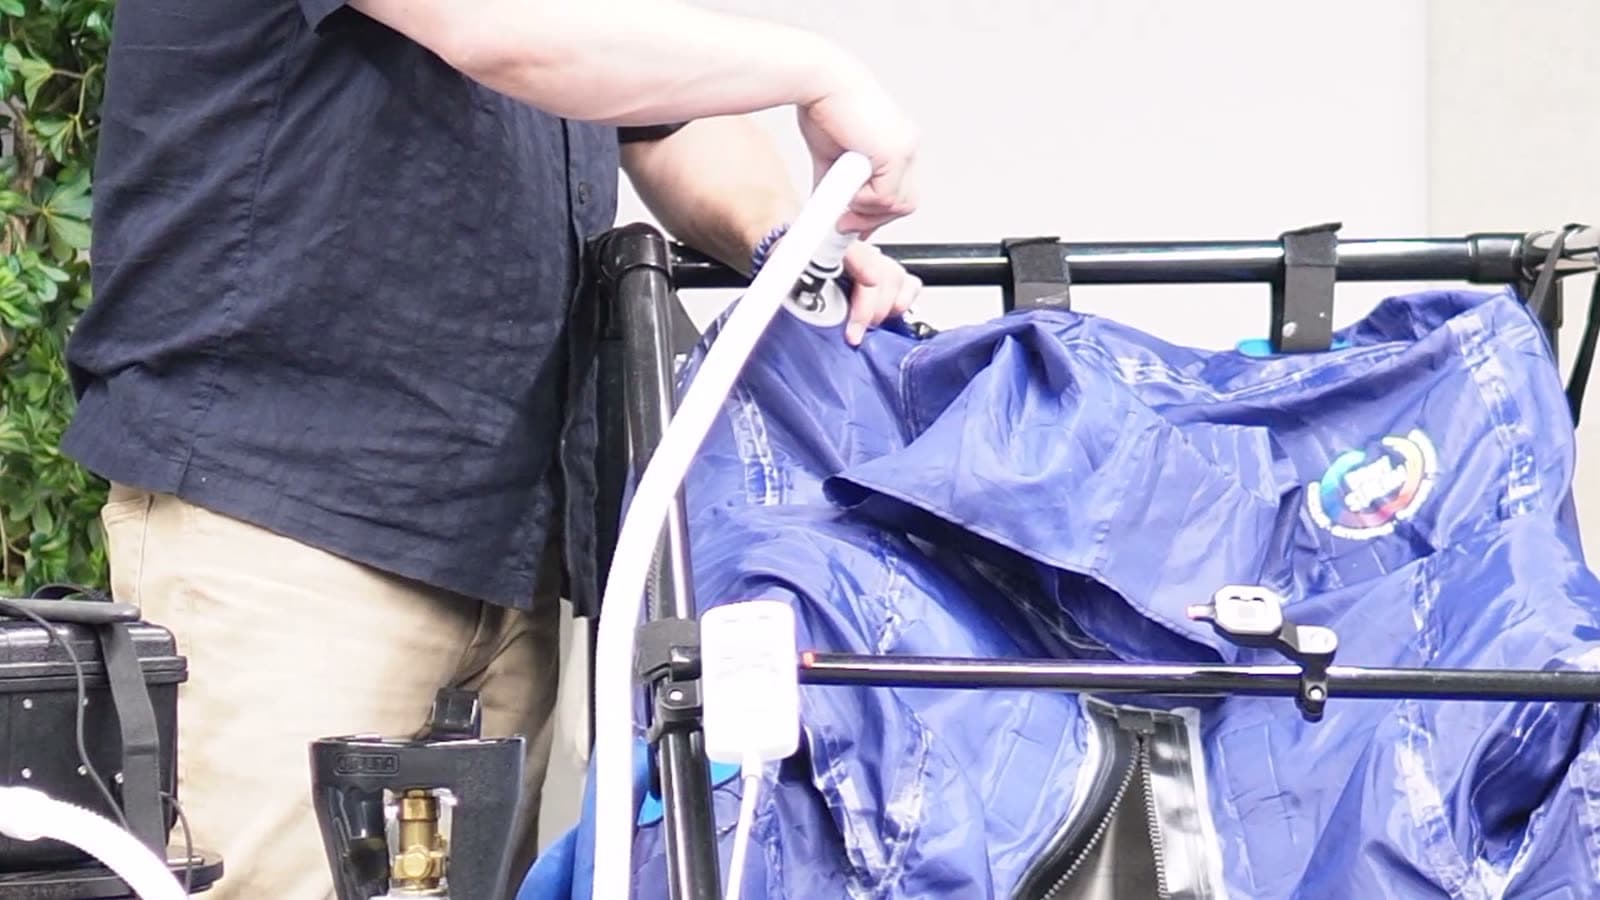
- 9Connect the white hose from the big black machine to the sauna: push it over the fitting on the machine, then push it into the gray valve on the chamber and twist. It stays airtight for the whole session.
Part 5: Leak Test Before Every Session
- 1Turn the tank on while standing behind it, and listen for any hissing.
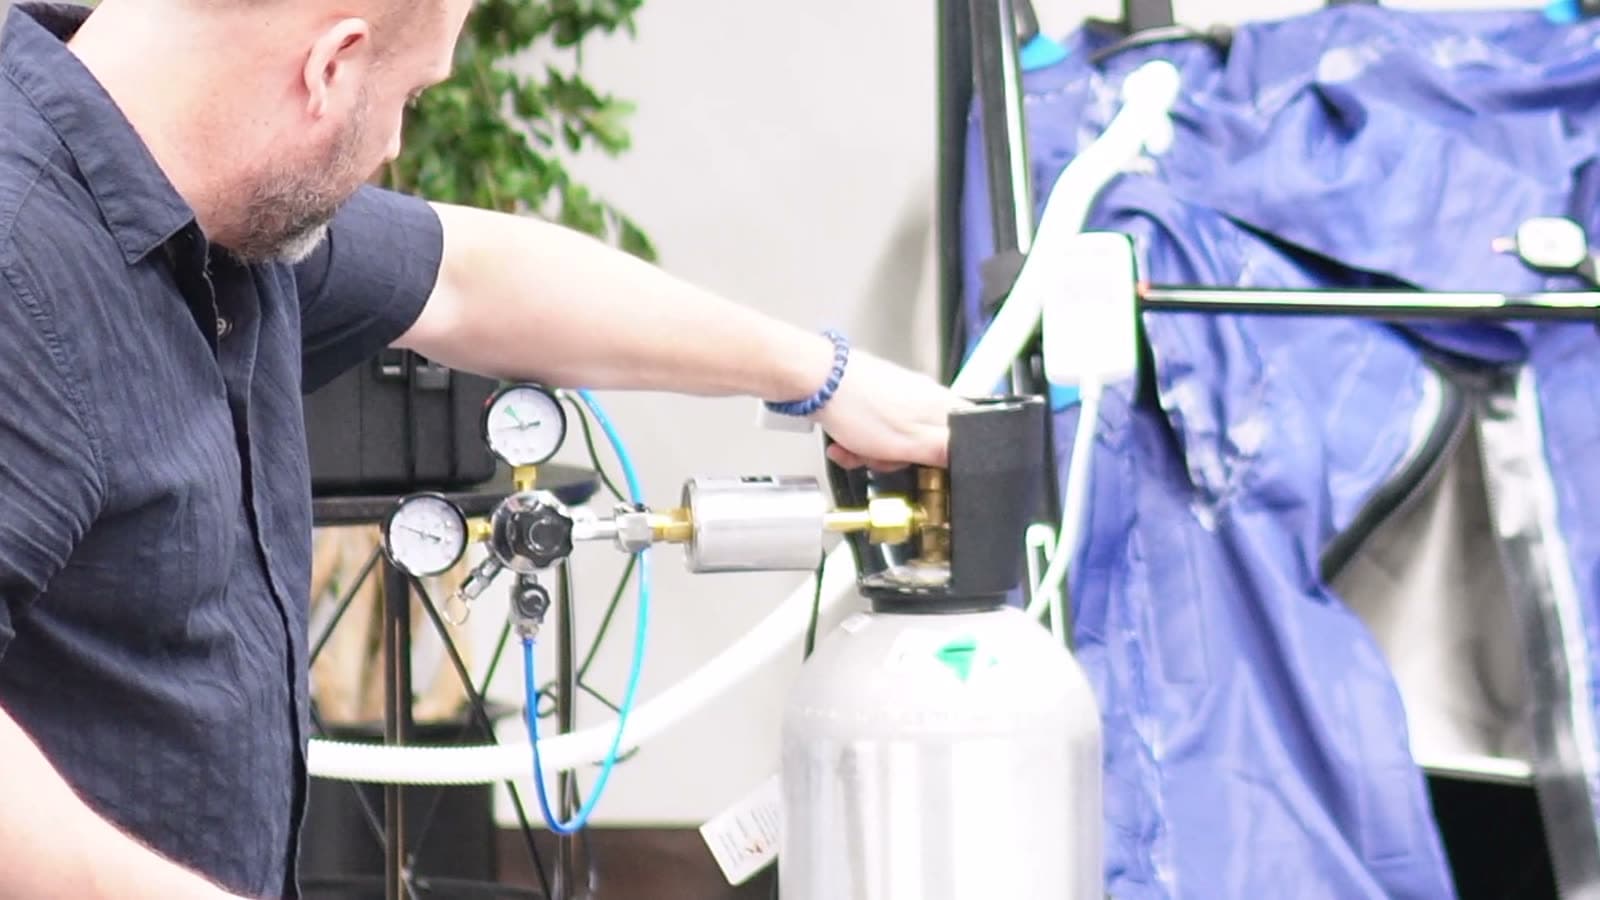
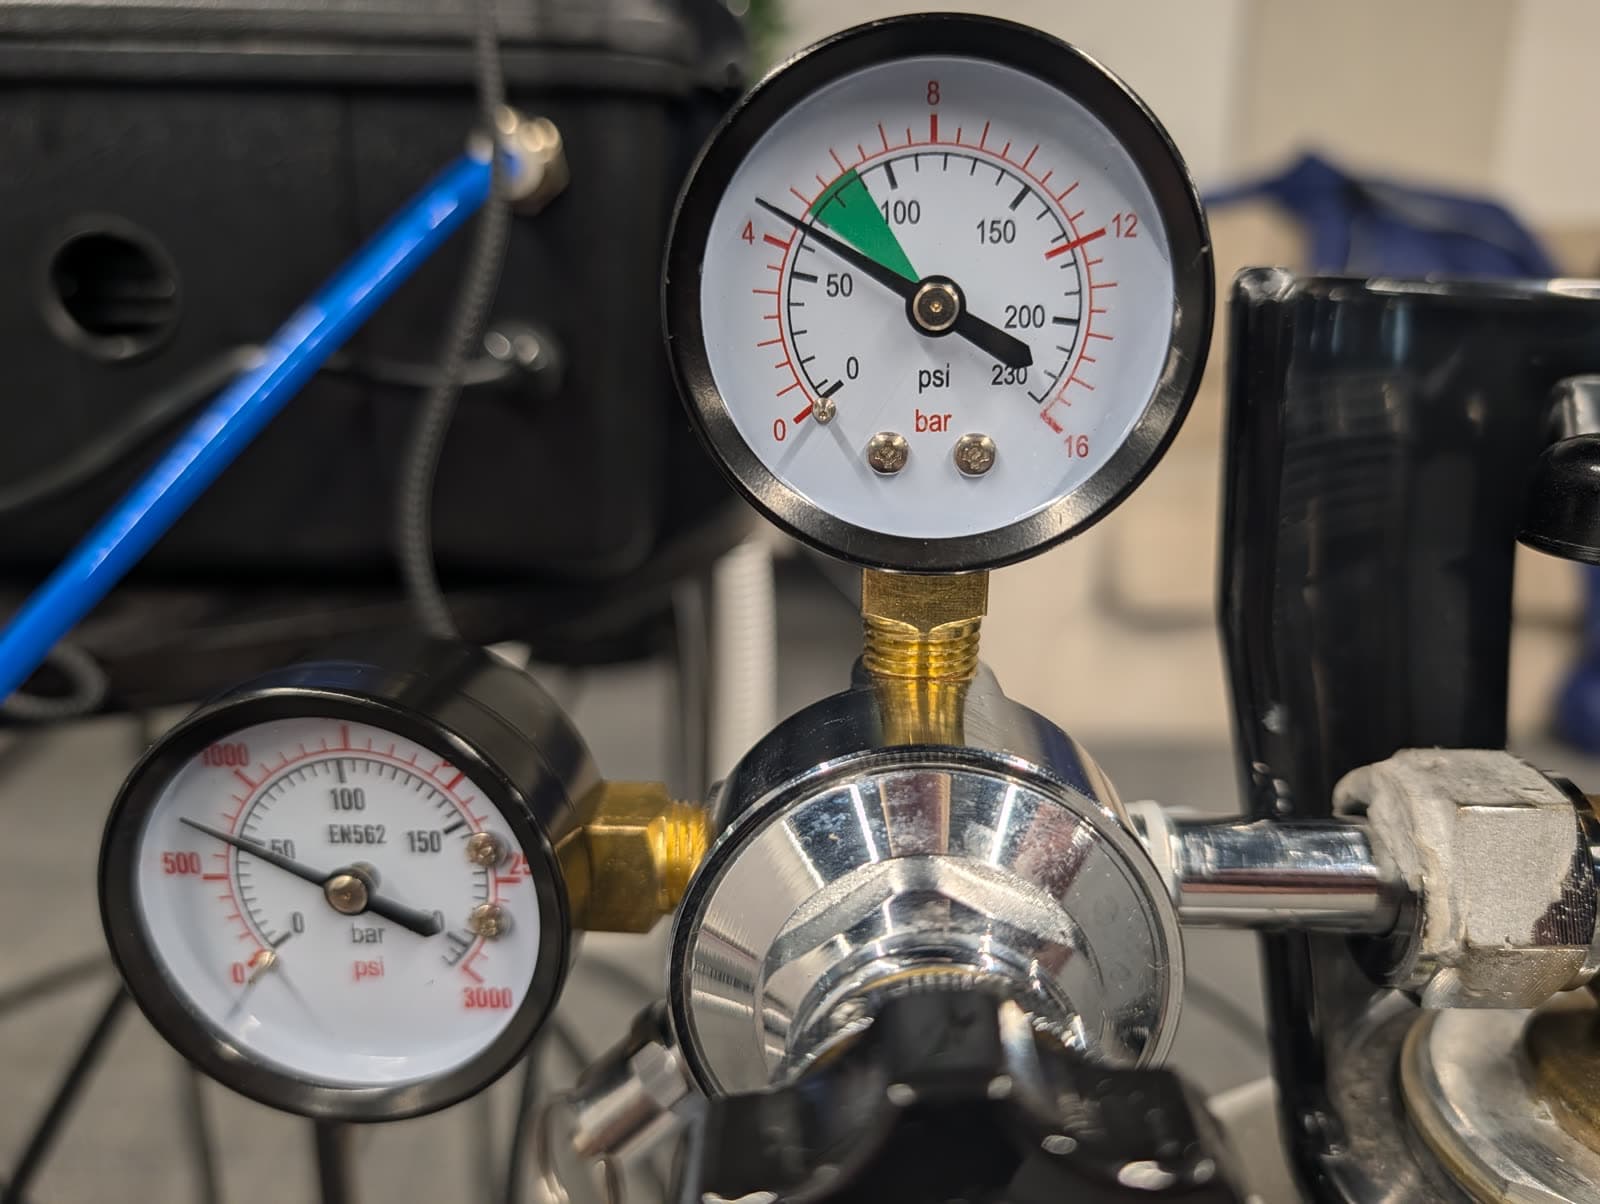
- 2Check the pressure. The working pressure should sit close to the green zone on the regulator gauge.
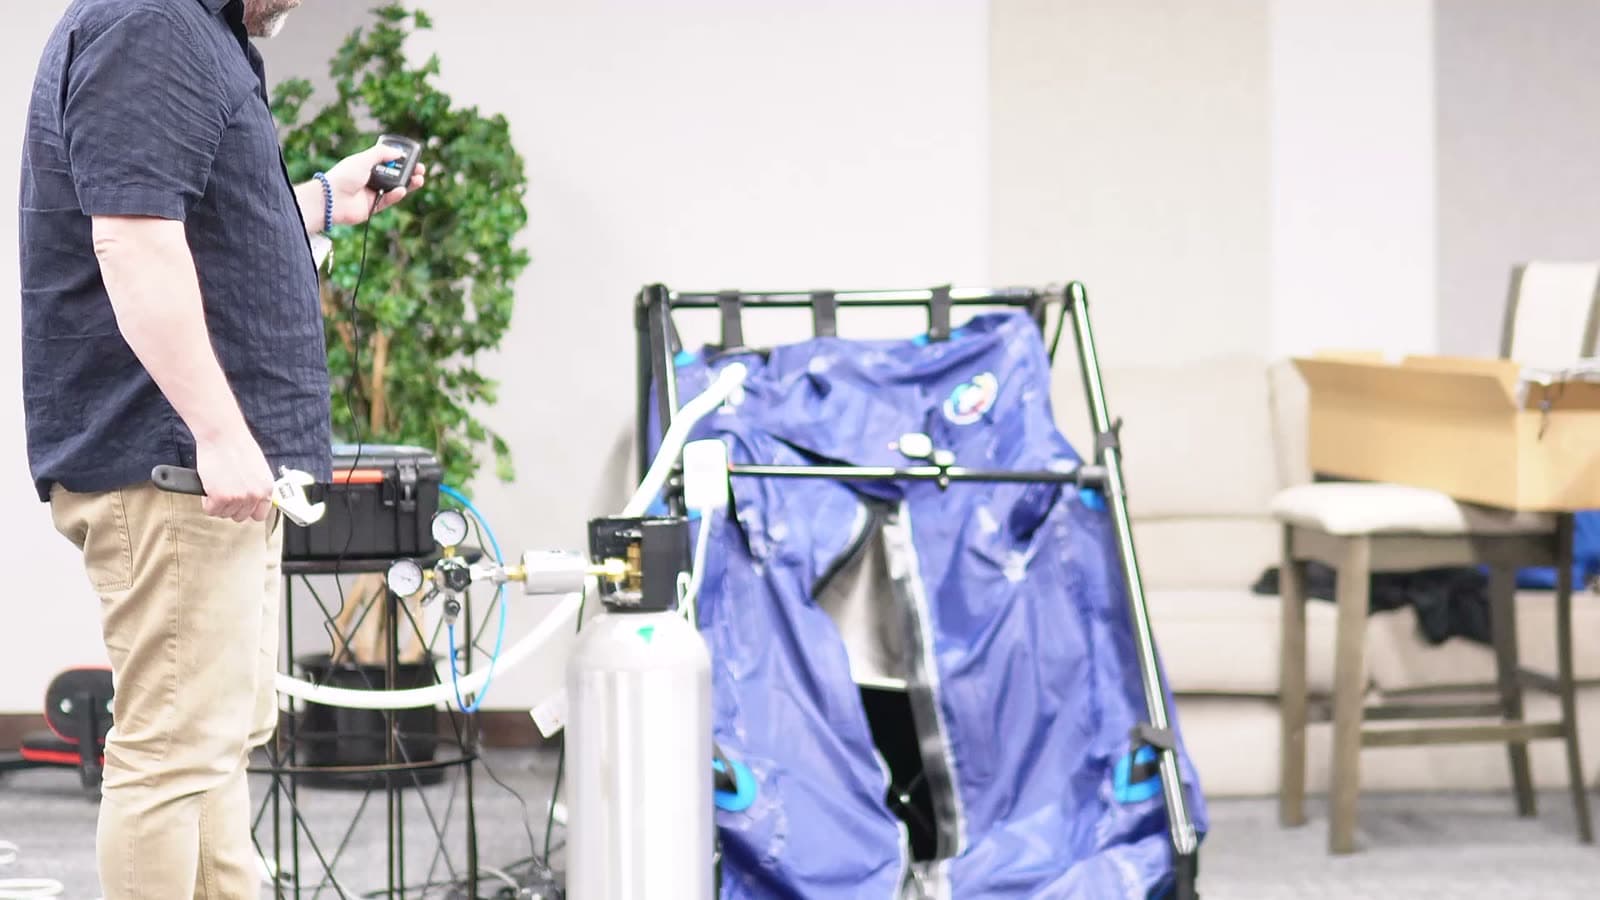
- 3Press CO2 on the remote, then listen for leaks again. No hissing means you are good.
- 4Give the heater about five minutes, then listen once more. Heat expands the metal, and a joint that was tight when cold can loosen when warm.
- 5Before you get in, position the tank so your arm can reach the valve from inside the sauna.
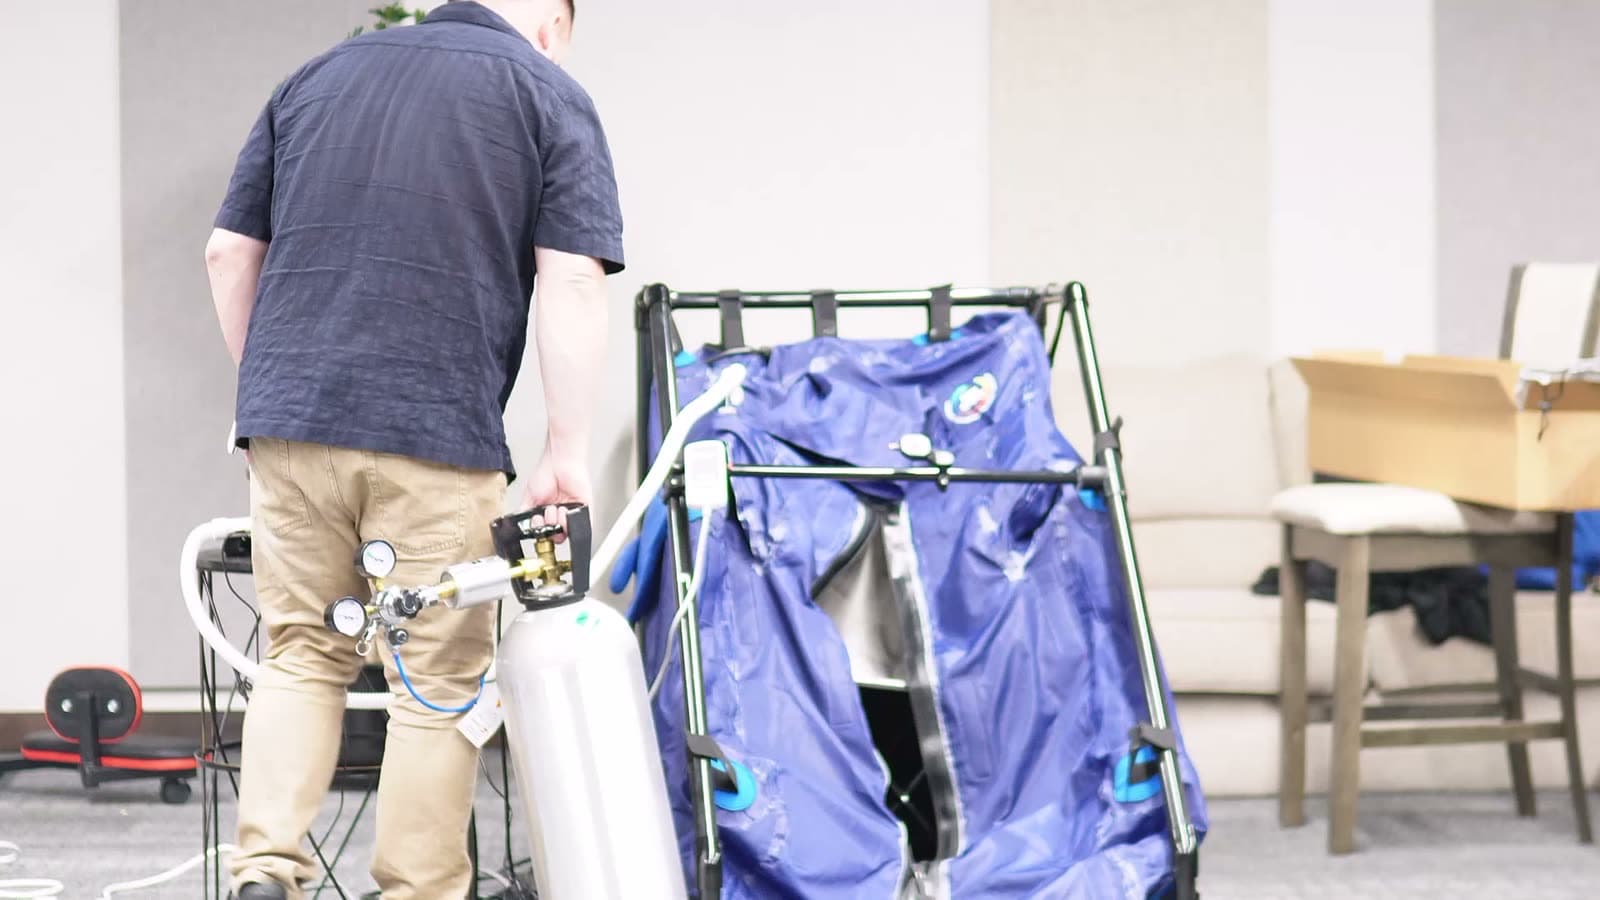
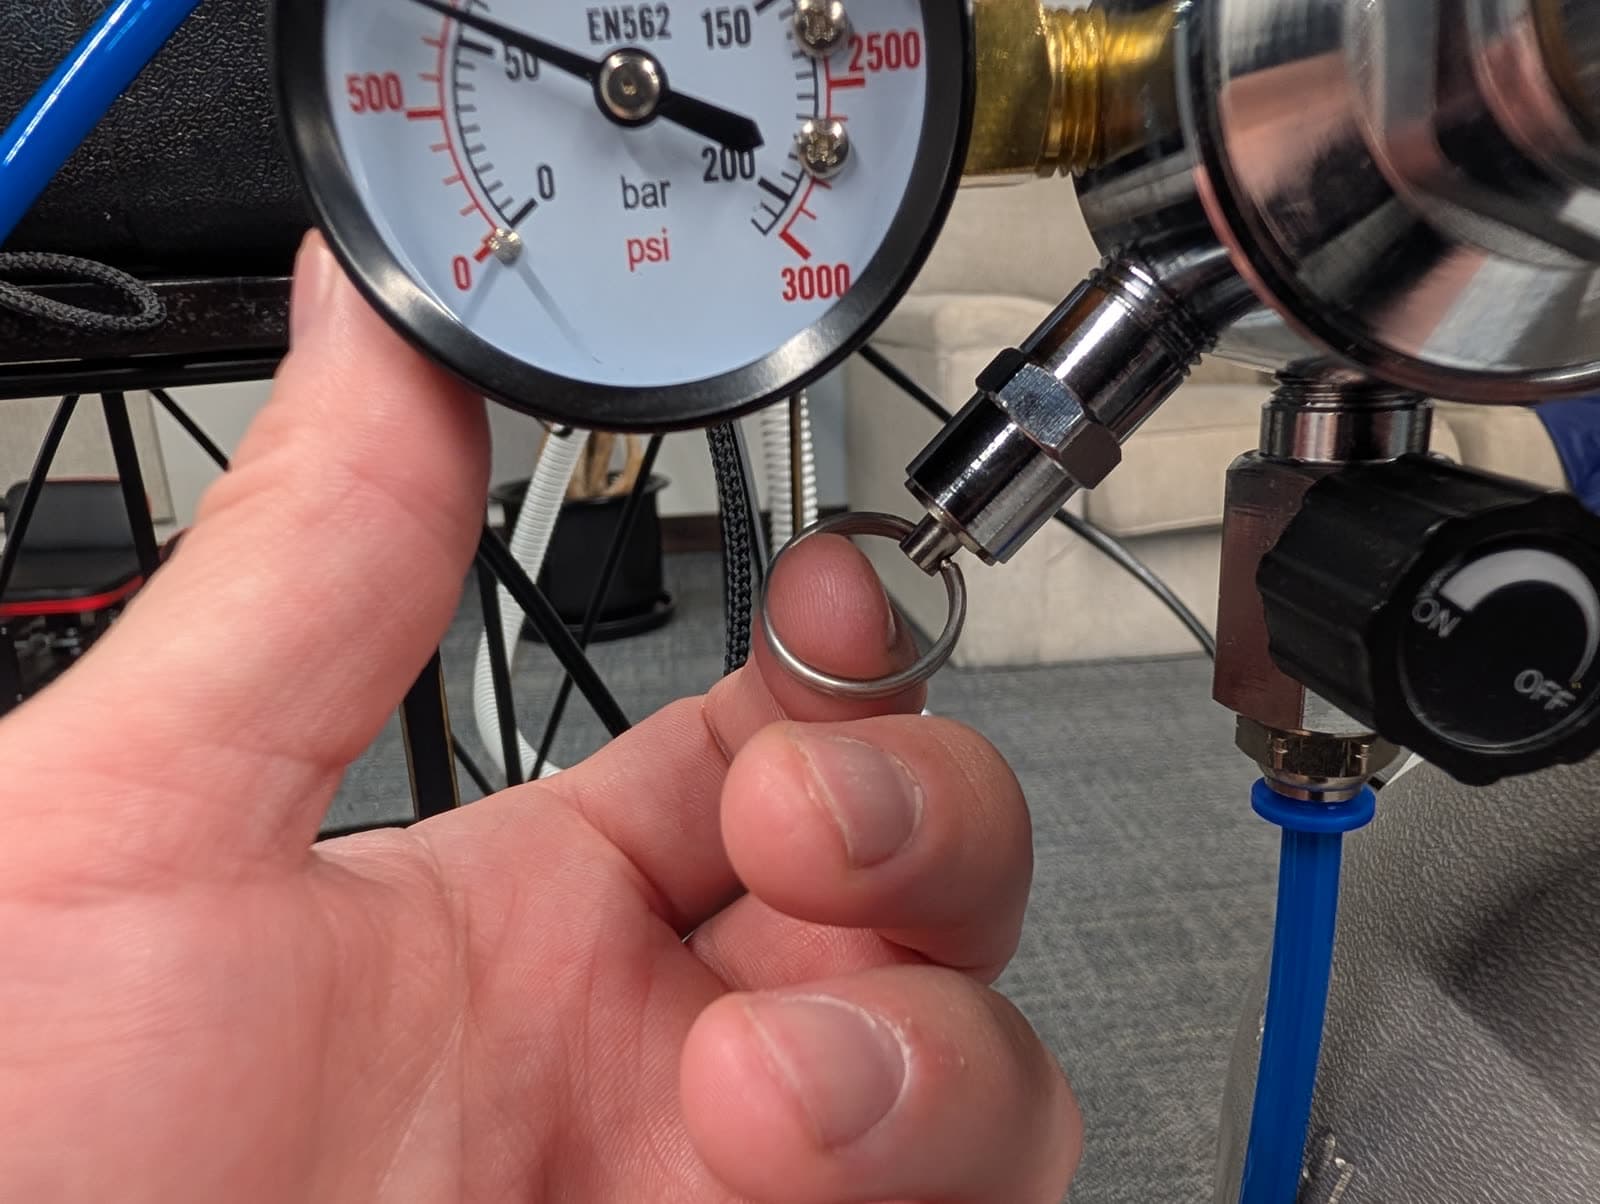
- 6After you turn the tank off, pressure remains in the line. Release it by pulling the ring on the safety relief valve, or press the CO2 button on the remote until the line is empty.
Part 6: Set the Heat Controller
The white heat controller remote runs the heating panels. Start with a lower temperature and a shorter session for your first few sessions. You can preheat before you get in, and reset the timer from inside for a longer session.
- 1Press ON/OFF to turn it on. Press SET to select temperature and adjust with the arrows. Press SET again for time. SET switches back and forth between temperature and time, and one more press starts it.
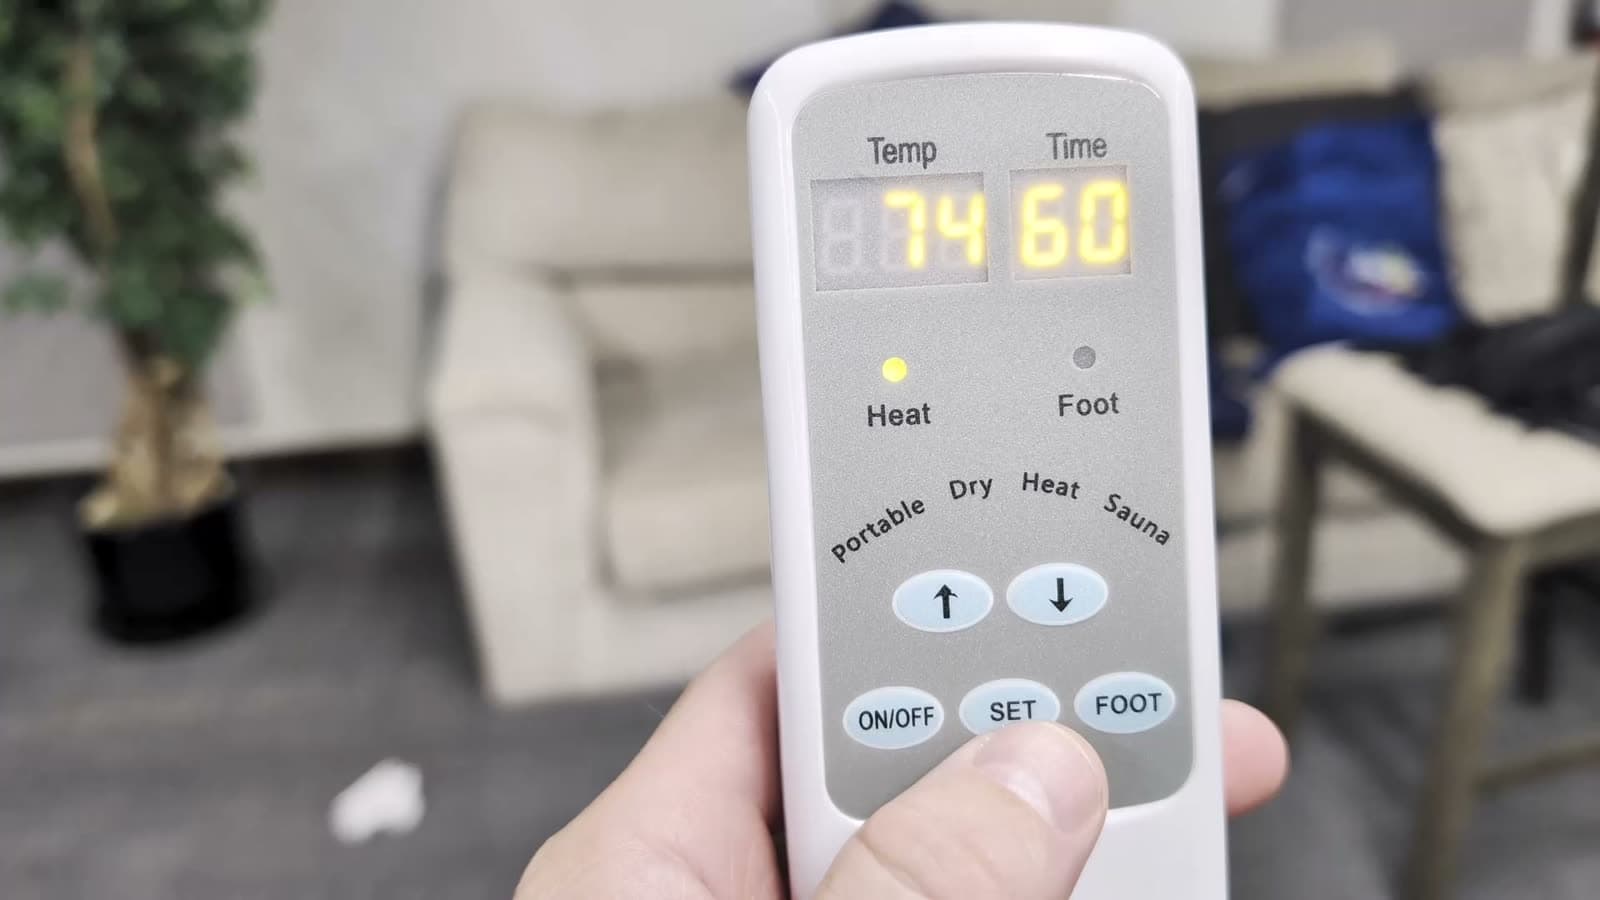
- 2The FOOT button cycles the foot heater: once for low, again for high, and again for solid, which keeps it on the whole time.
Part 7: Get In
- 1Dress for sweating: as little as possible. Put a towel around your neck, one on the floor, and one on your lap if you like.
- 2Pick your neck seal. Two sizes are included. The large fits most necks, the small is for very small necks. Check the fit before you get in.
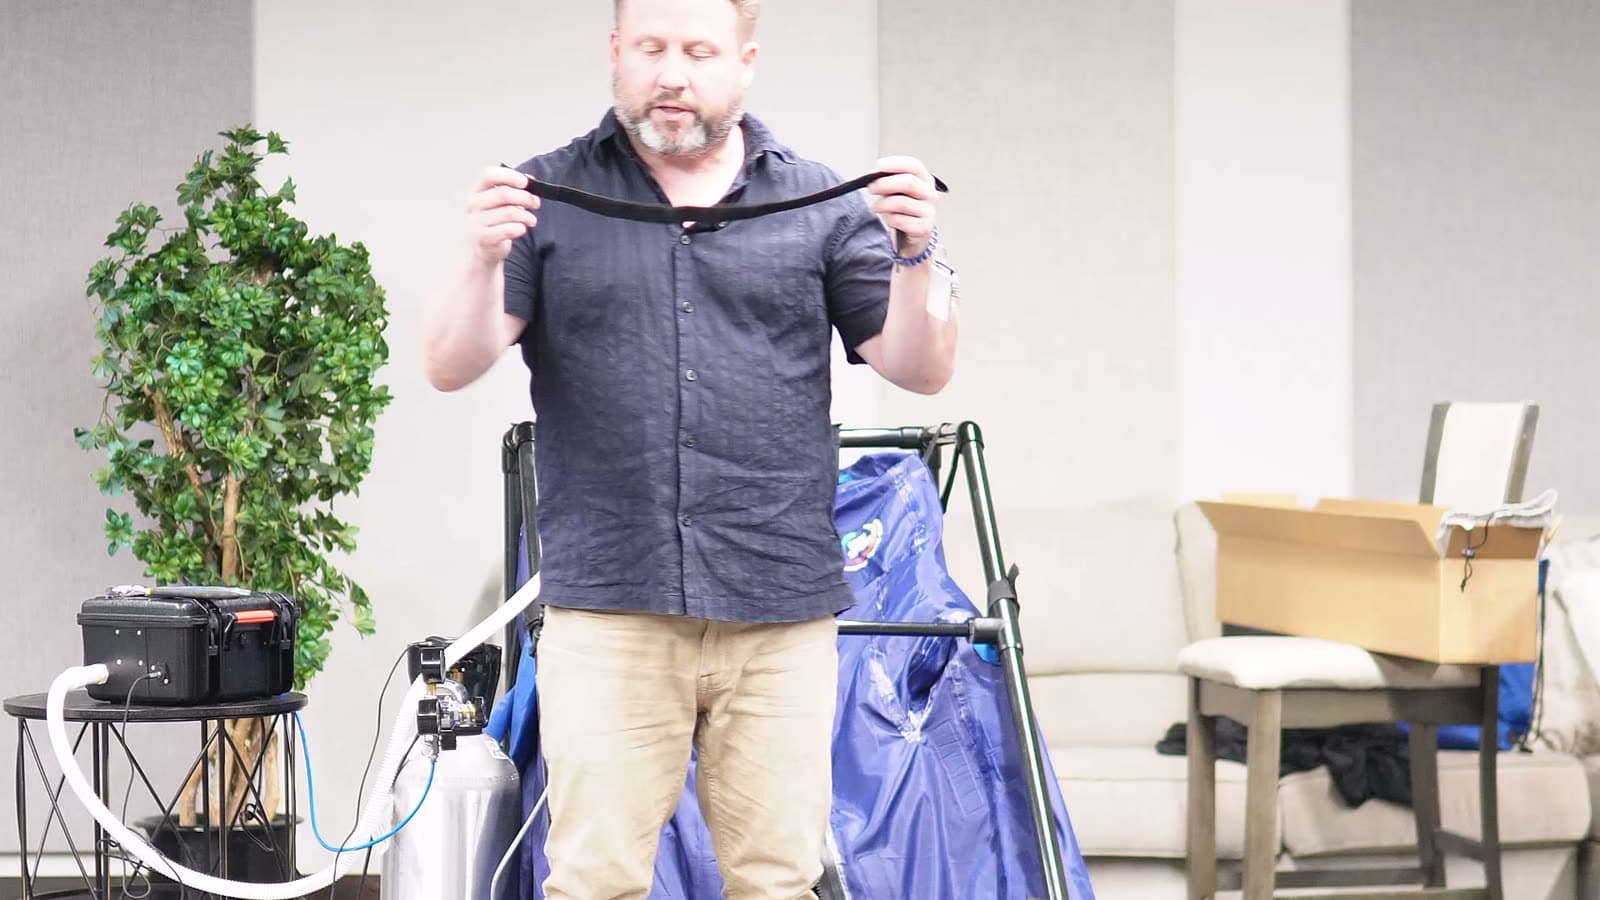
- 3Final checks: no leaks, the tank valve within reach from the seat, and the heat controller already set.
- 4Step in and start zipping up as you sit down. Swing the crossbar over and put the wireless remote on your wrist.
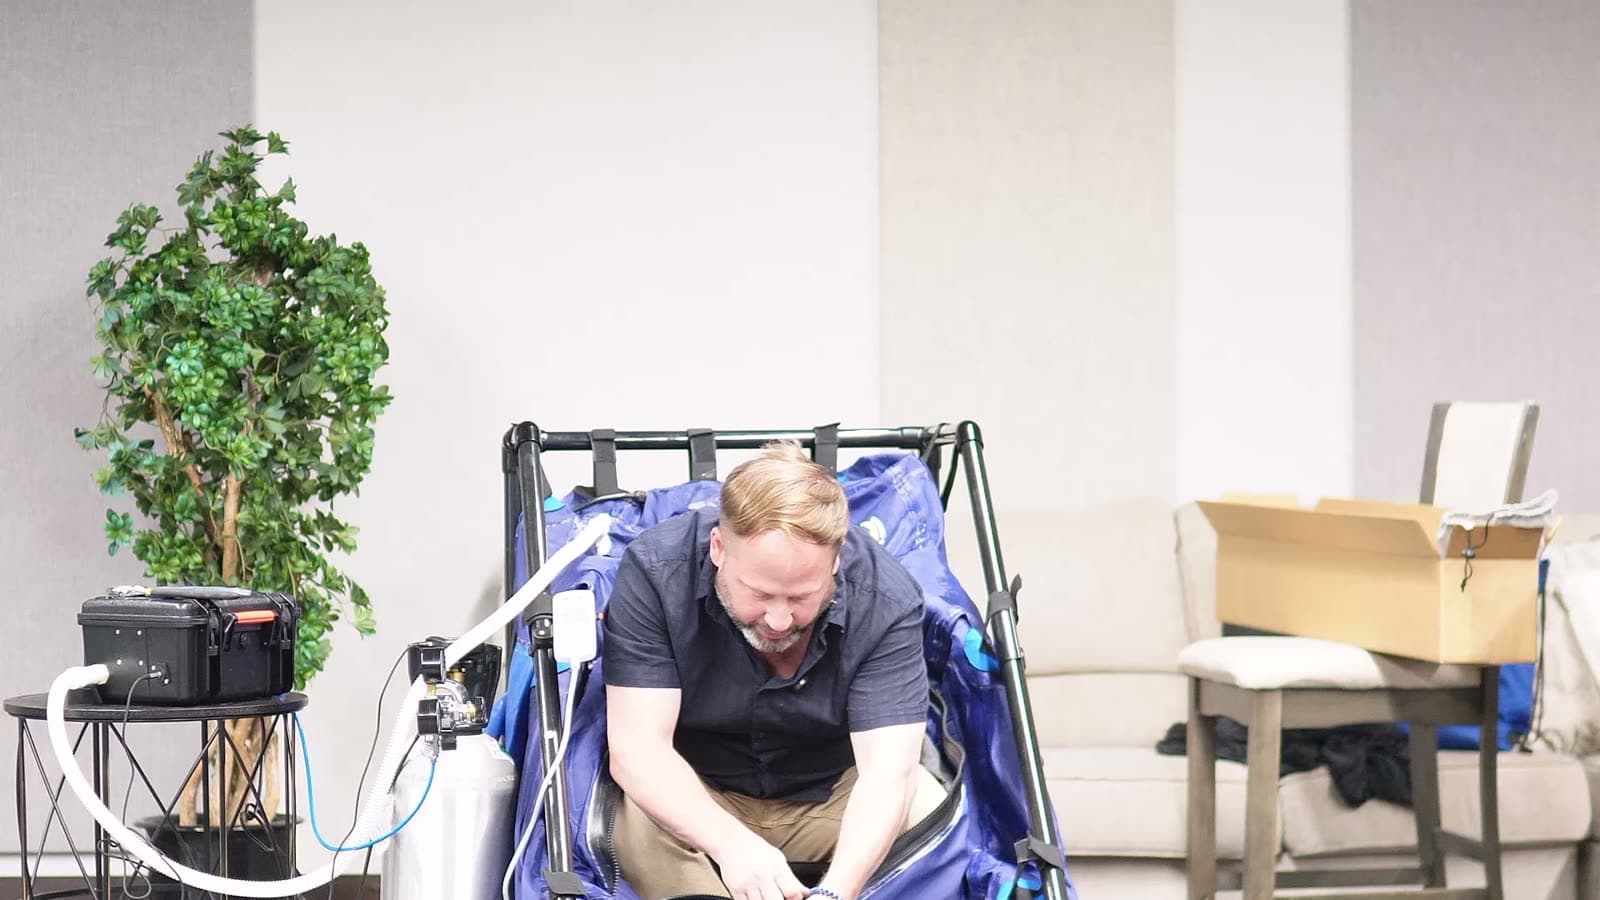
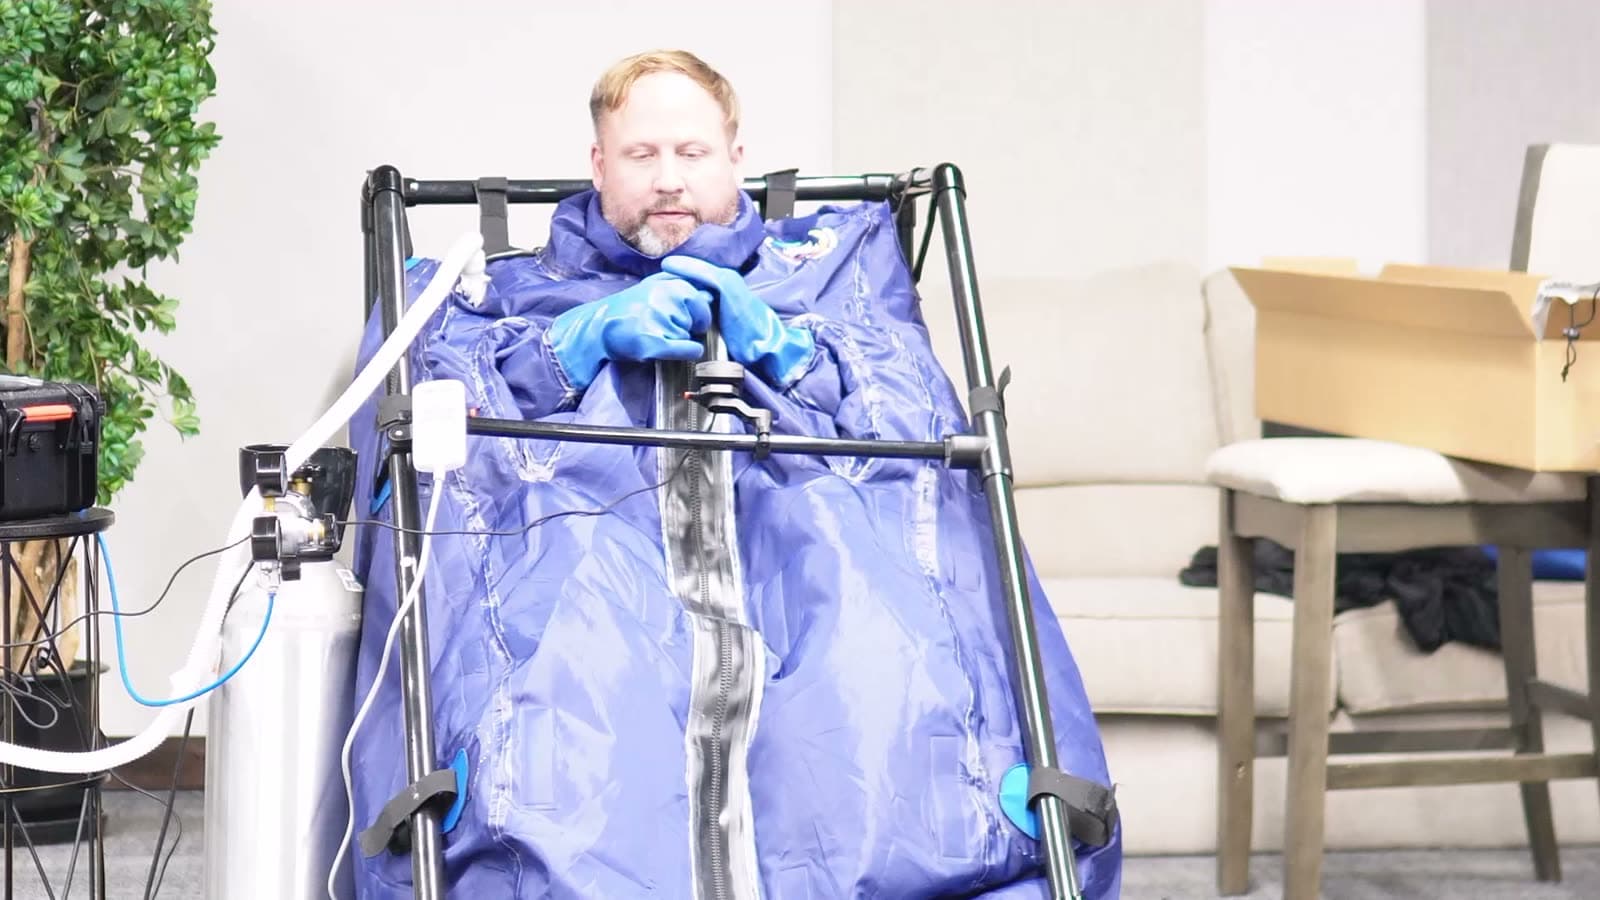
- 5Put the neck piece on before your arms go in the sleeves. You want it tight enough not to leak but not uncomfortable. Keep the neck seal material clear of the zipper.
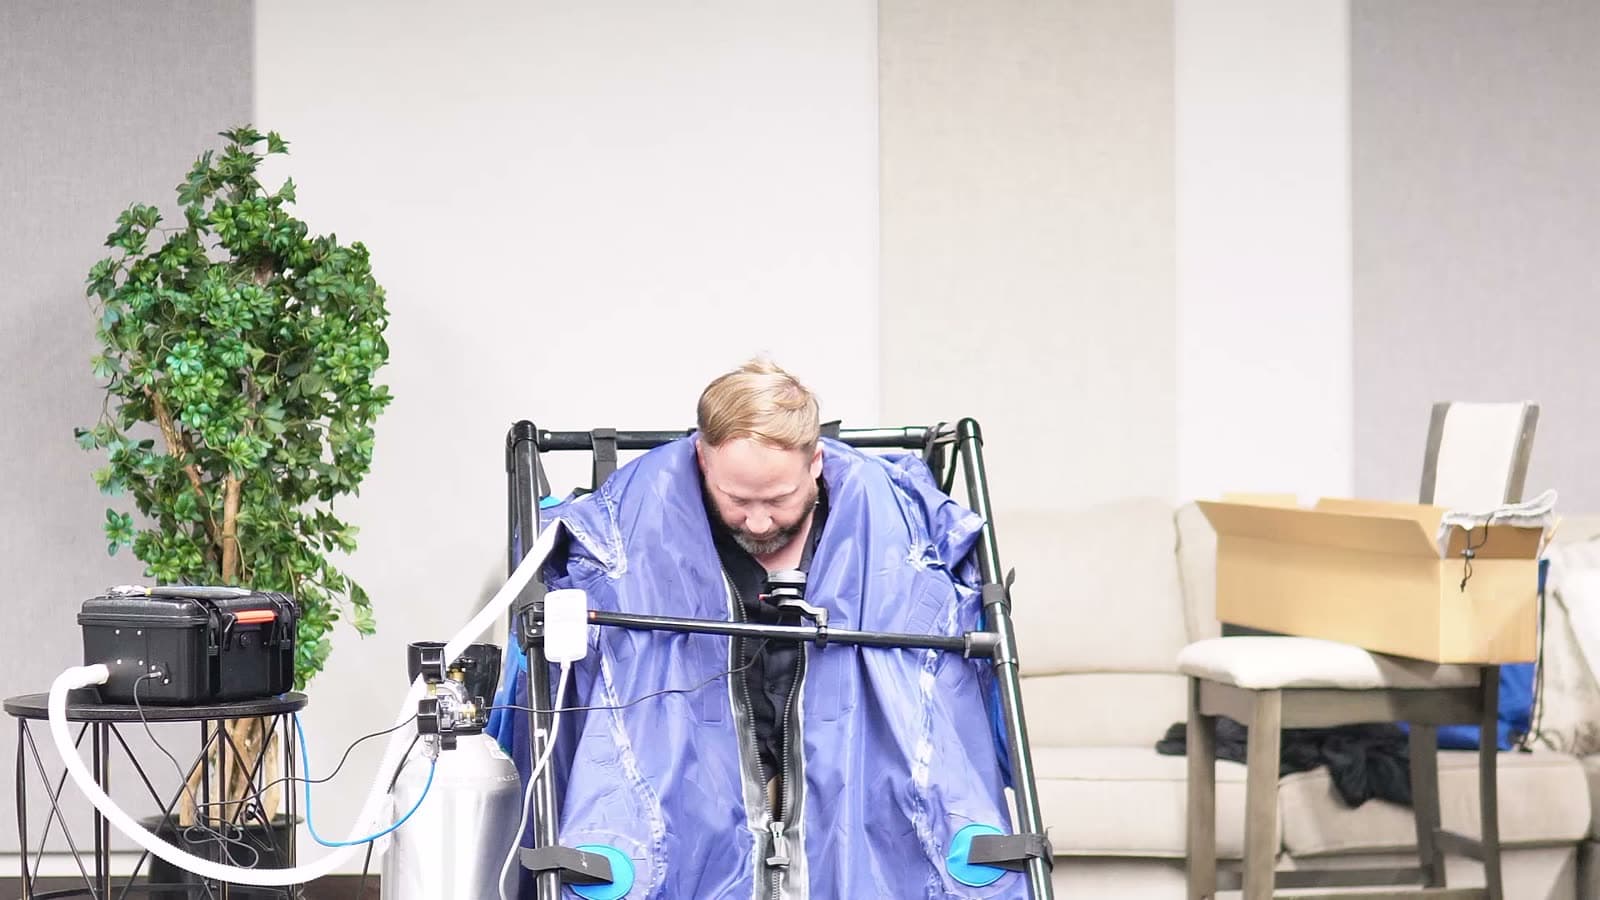
- 6Pull the suit up as high as you can, then zip up the rest of the way.
Part 8: Your Session
- 1Vacuum first. Press Vacuum on either remote. It pulls the air out of the chamber and runs for up to three minutes, then shuts off automatically.
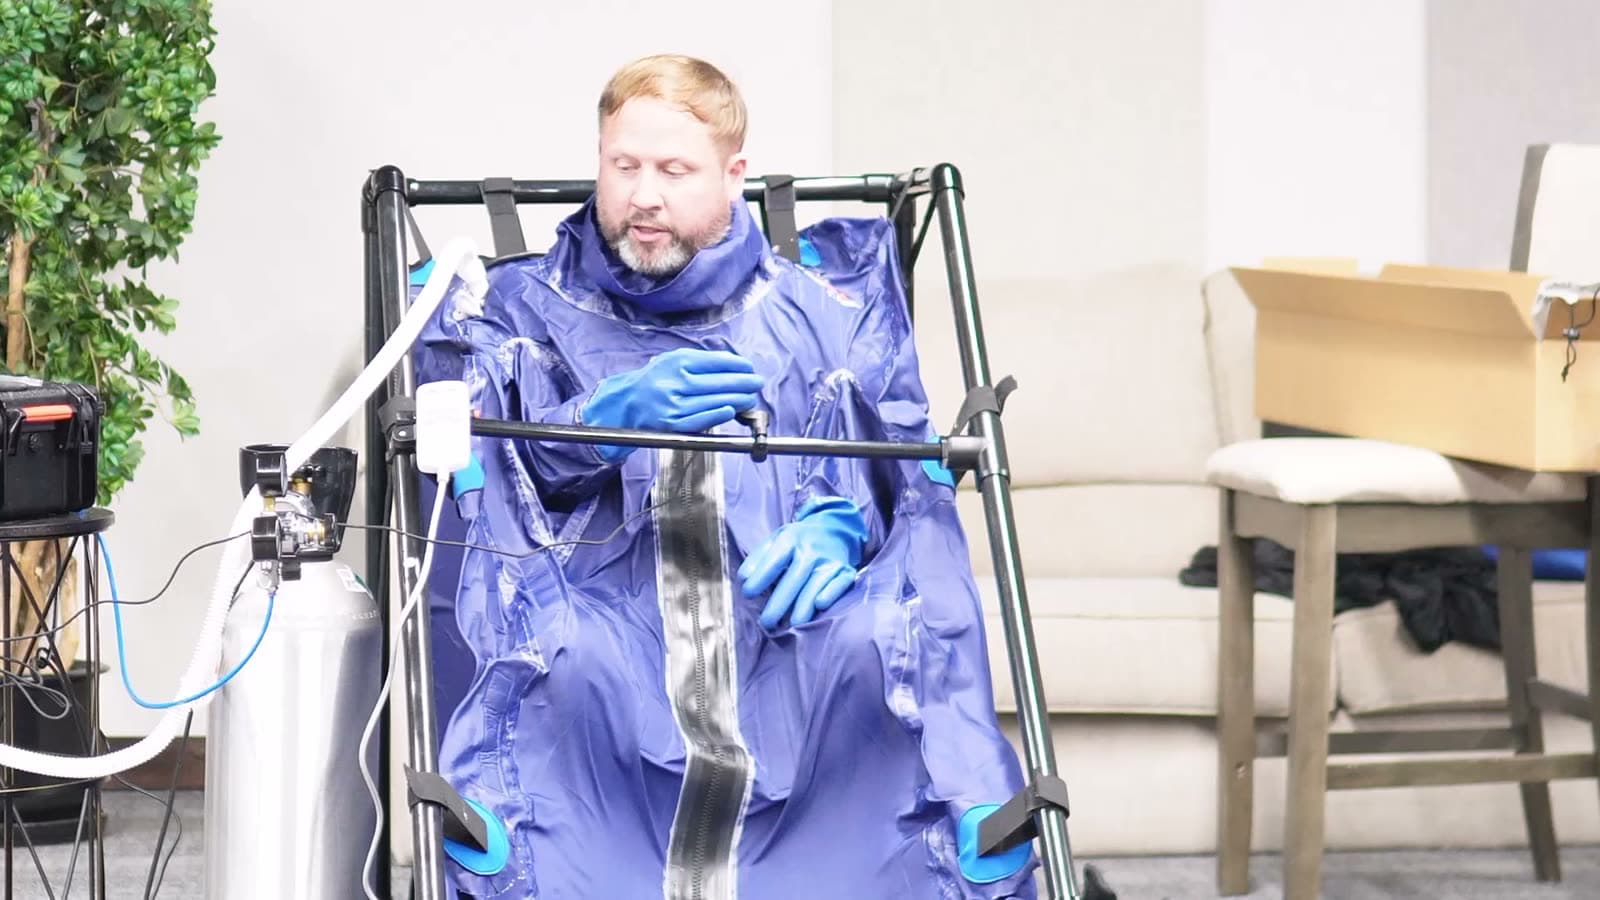
- 2After the vacuum, CO2 starts automatically for one minute. Each additional press adds another minute, and it usually takes about three presses to fill the chamber.
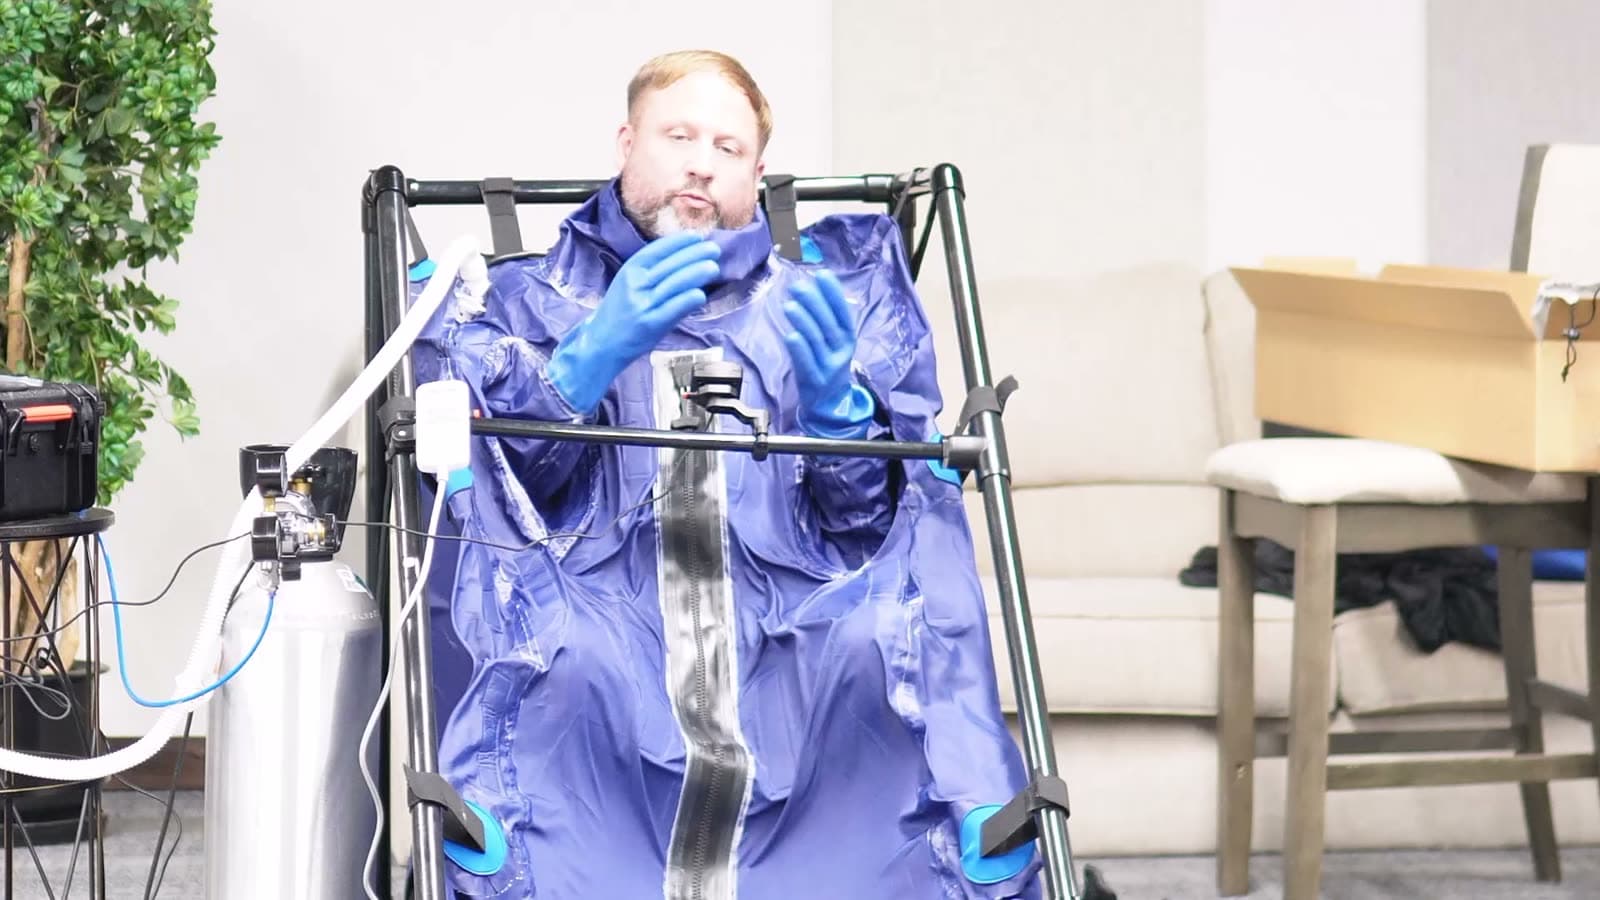
- 3Relax. A typical session is 45 minutes to an hour. Many people slip their arms out of the sleeves once the chamber is full and use the wrist remote when needed.
Part 9: Get Out
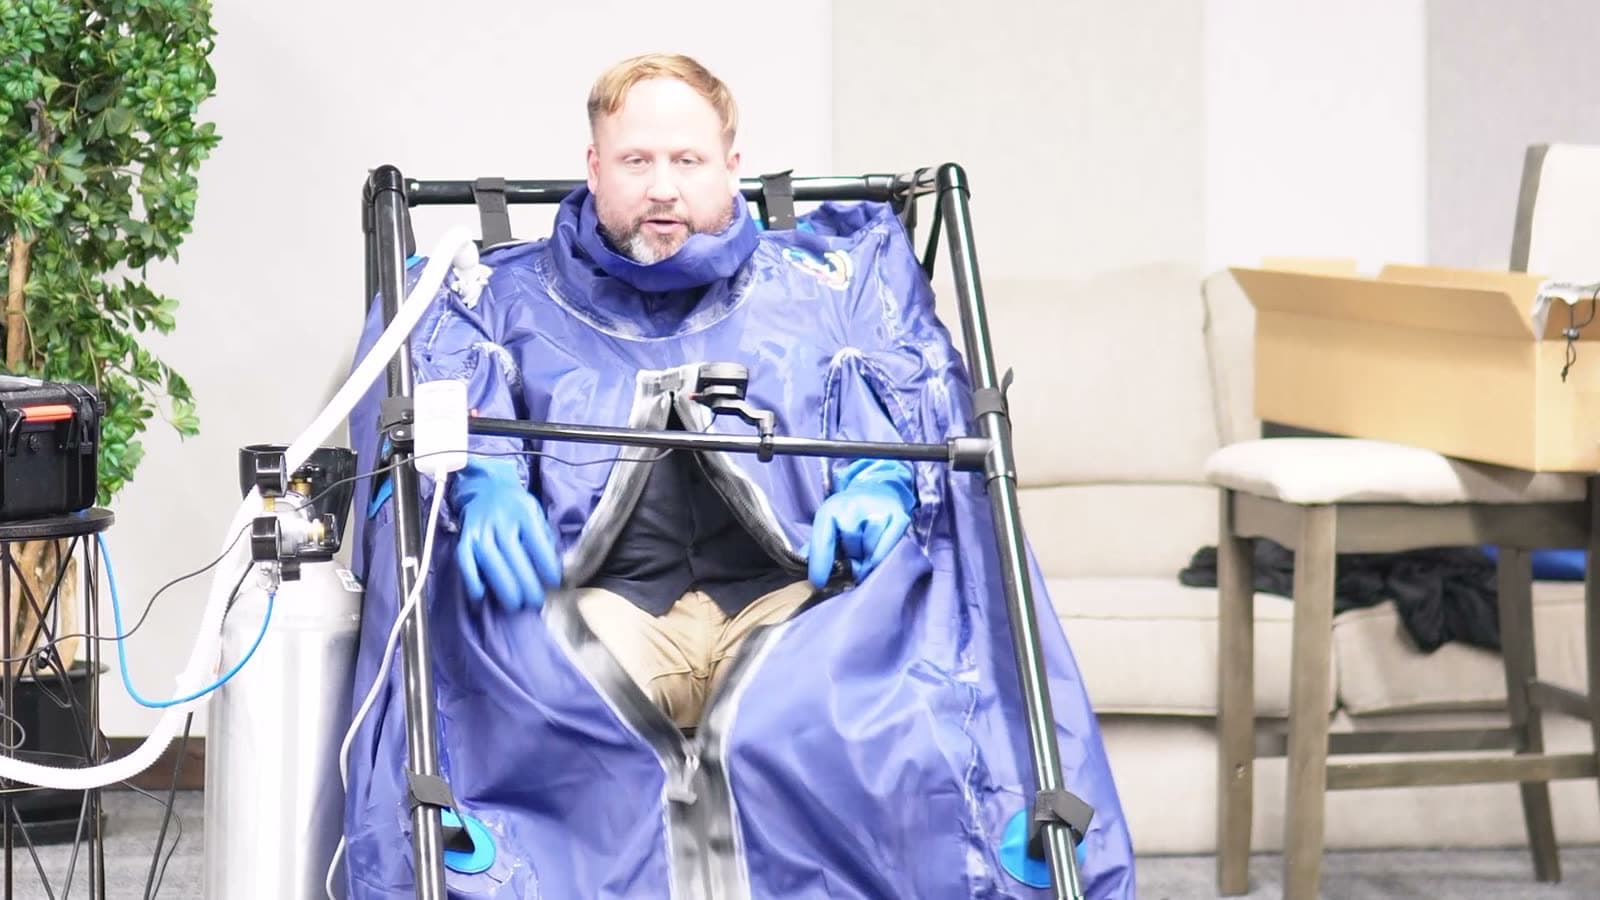
- 1Hold the top of the zipper with one hand and pull down with the other. You may get a little puff of CO2 in your face, which is normal.
- 2Air it out before you lower your head. Do not duck your head down into the chamber until the CO2 has aired out.
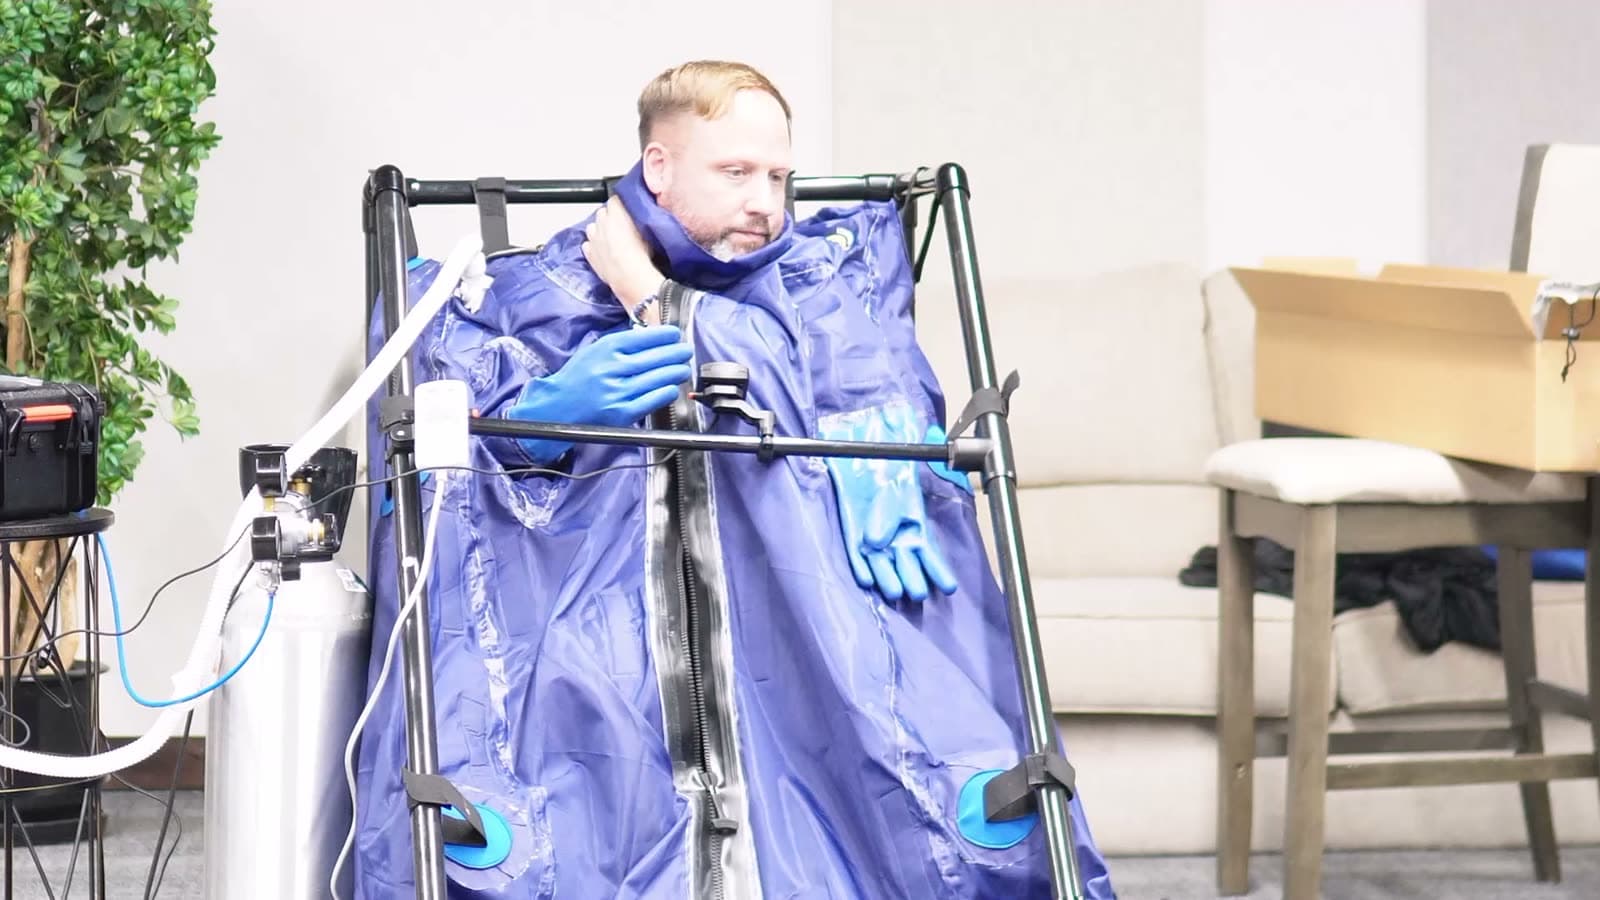
- 3Take the neck strap off, pull your arms out, make sure all the CO2 is out, then step out.
- 4Disconnect the white hose by pressing the red button on the fitting. It clicks off.
Part 10: Shut Down After Every Session
- 1Turn the CO2 tank off. This is the most important step.
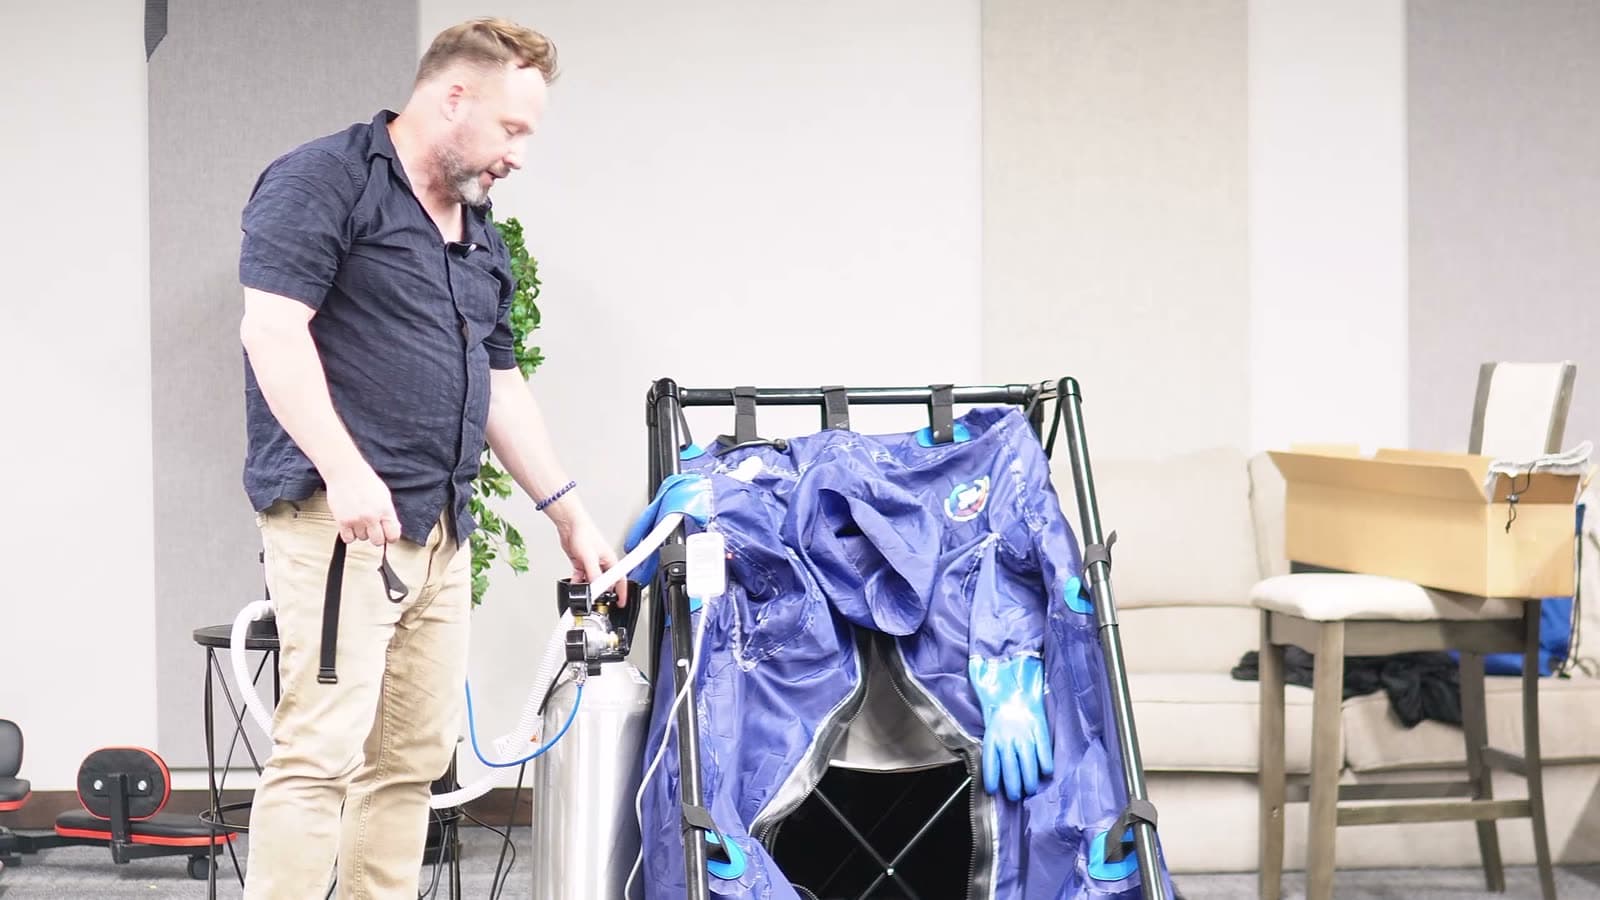
- 2Release the leftover pressure with the relief valve ring or the CO2 button. This protects the regulator and is safer.
- 3Turn off the power strip. One switch turns off the remote box, the machine, and the CO2 heater.
- 4Wipe off any sweat inside the chamber and it is ready for your next session. The interior liner is held in with Velcro, with sections on the floor, the walls, and in the gloves, and it can go through the washing machine.
Quick reference
- CO2 tank size
- 20 lbs minimum
- Regulator pressure
- Near the green zone on the gauge
- Heater pre-heat
- About 5 minutes before the session
- Vacuum timer
- 3 minutes, auto shutoff
- CO2 timer
- 1 minute per press, auto shutoff
- Presses to fill
- About 3
- Session length
- 45 to 60 minutes
- After every session
- Tank off, release pressure, power strip off
Use CO2 safely
Use only food-grade CO2, keep the room well ventilated, and never lower your head into the chamber until the CO2 has aired out. If anything is unclear, reach our team before your session.